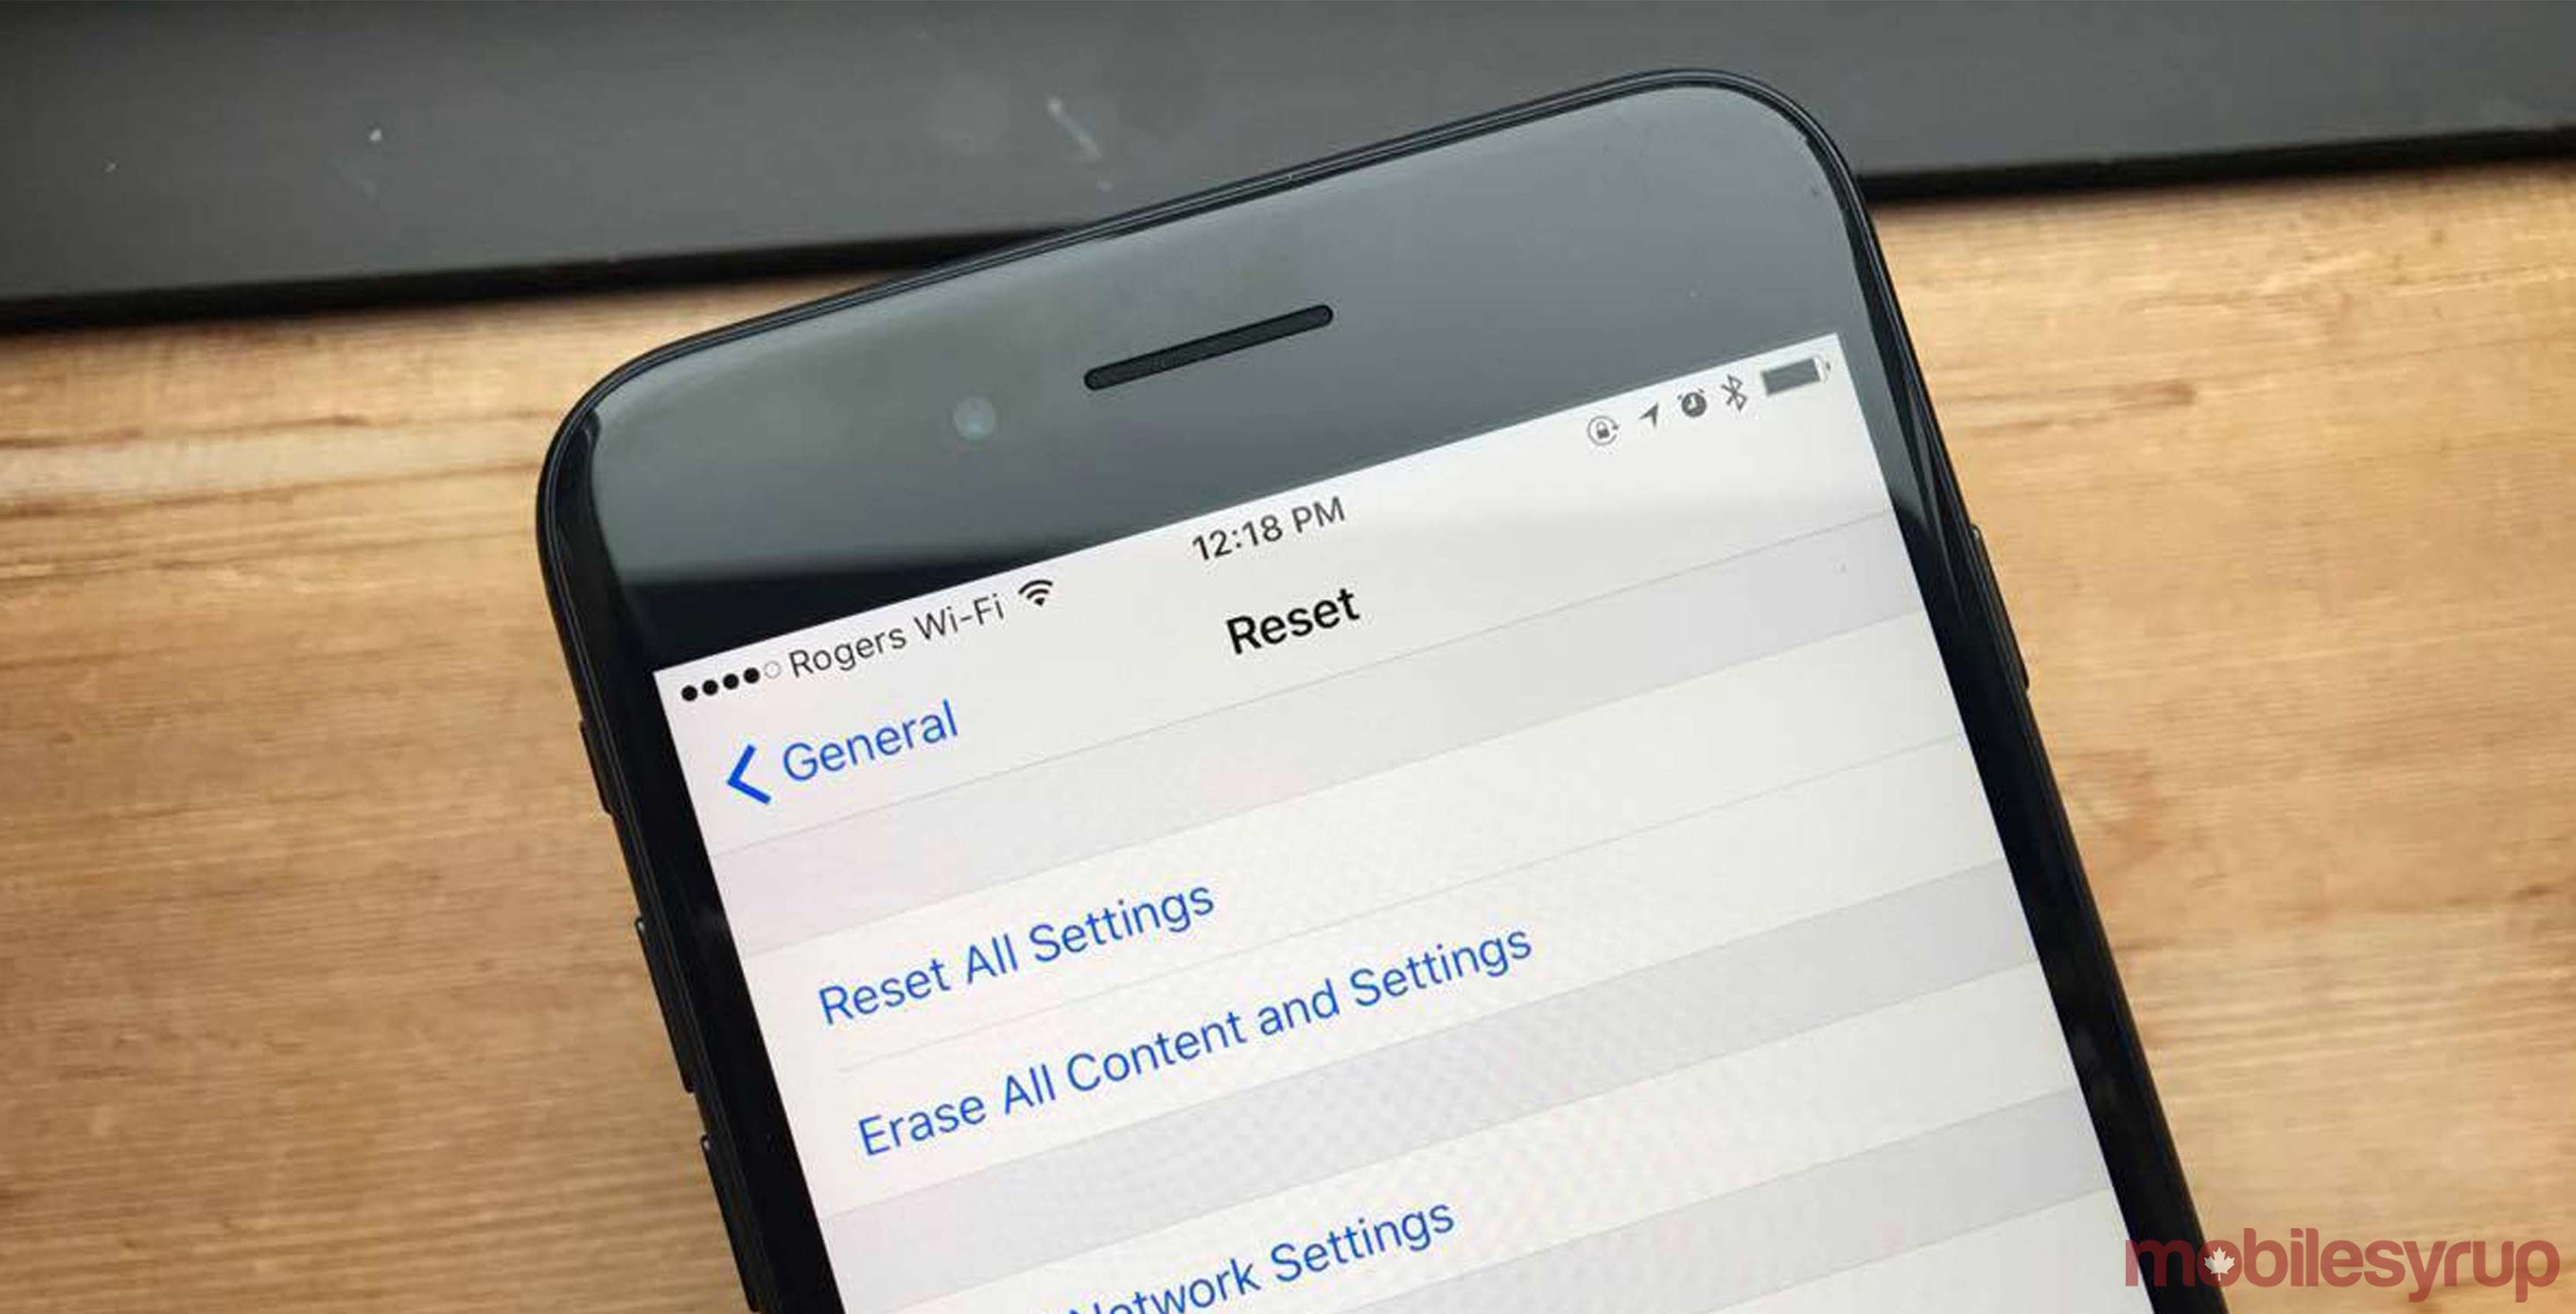
When upgrading to a new iOS device, there are several ways to ensure you don’t have to start with a blank phone each time.
The best way to do this is to backup and restore your device using either iCloud or iTunes.
How to back up and restore your device using iCloud
Backup your device
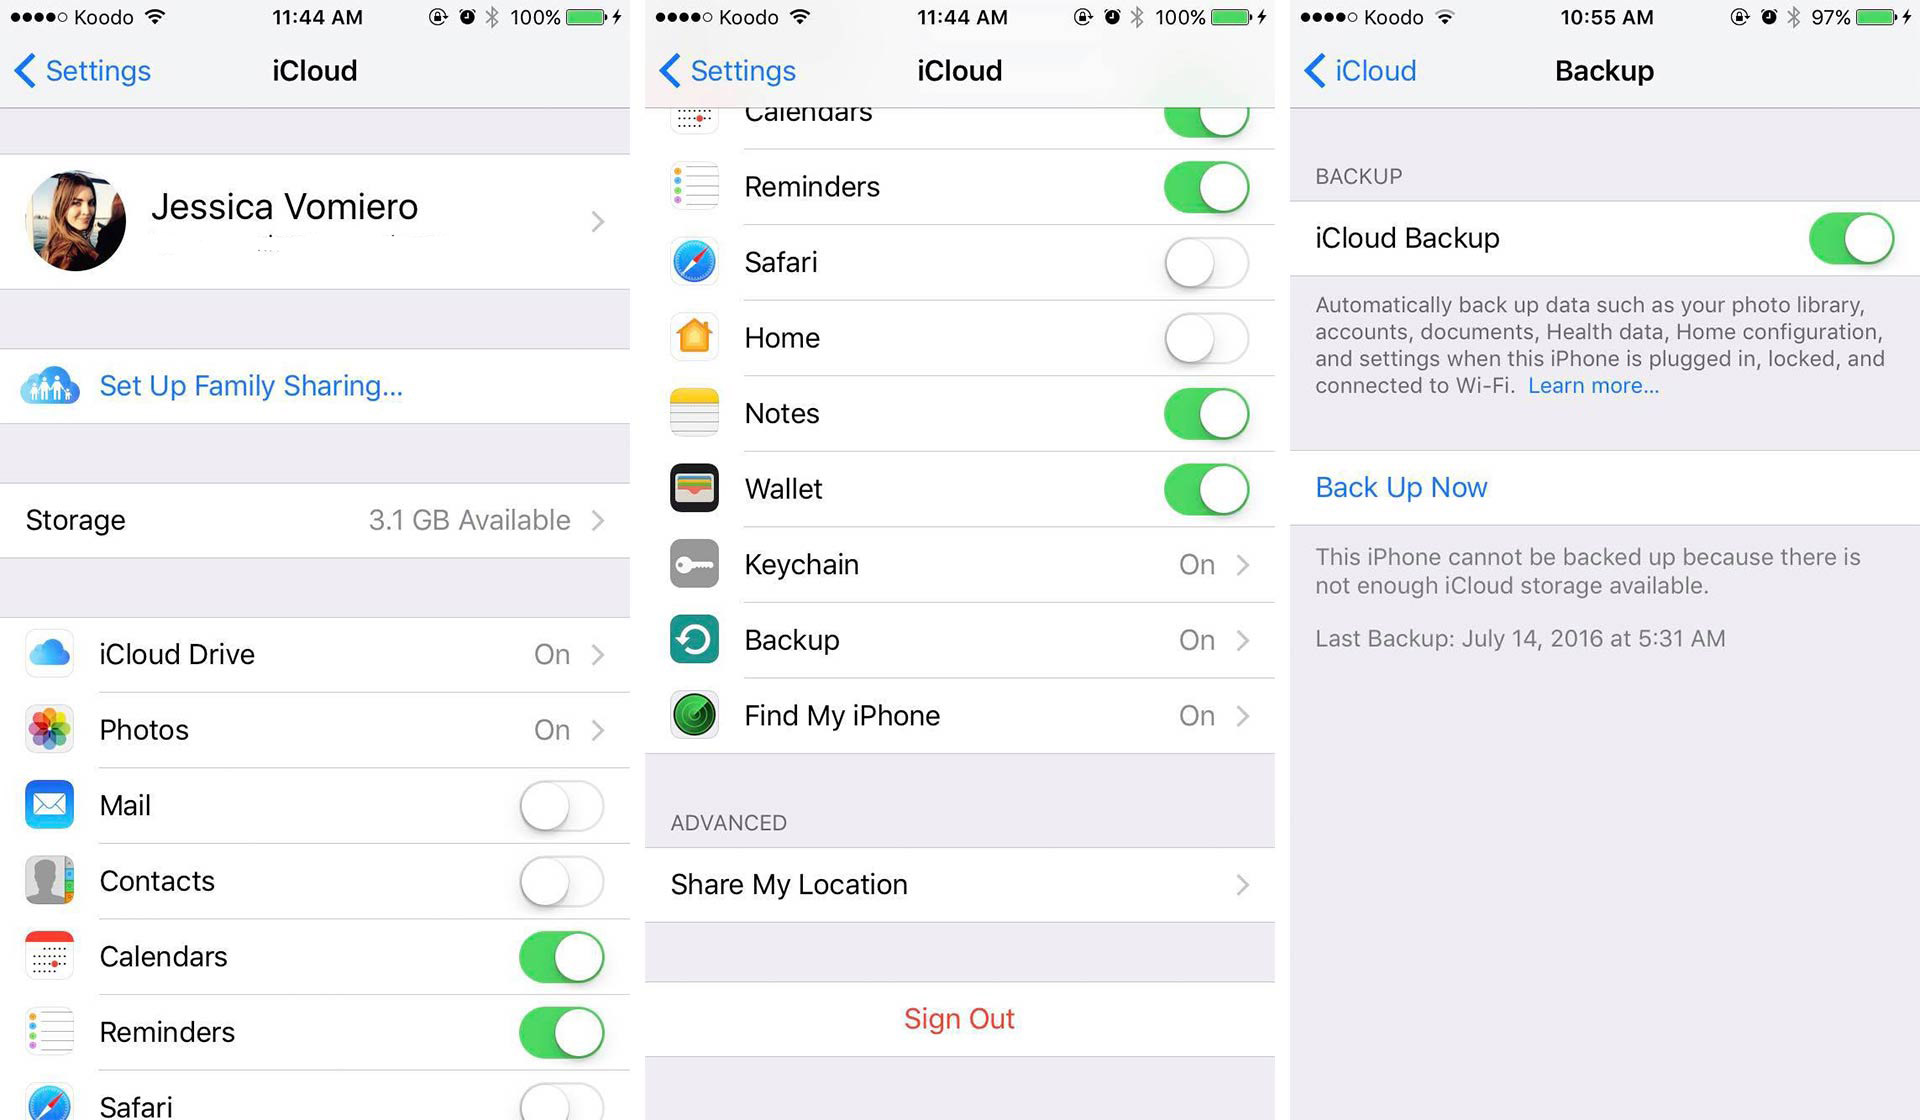
Once your device is connected to a WiFi network, go to ‘Settings’ and after scrolling down, tap the ‘iCloud’ option. Tap iCloud Backup to turn on the setting, and then proceed to select Backup Now. Make sure your phone remains connected to a Wi-Fi network while completing the backup.
To view your backup, go to Settings > iCloud > iCloud Storage > Manage Storage, and then select your device.
You should see the size and date of your backup listed next to the name of your device.
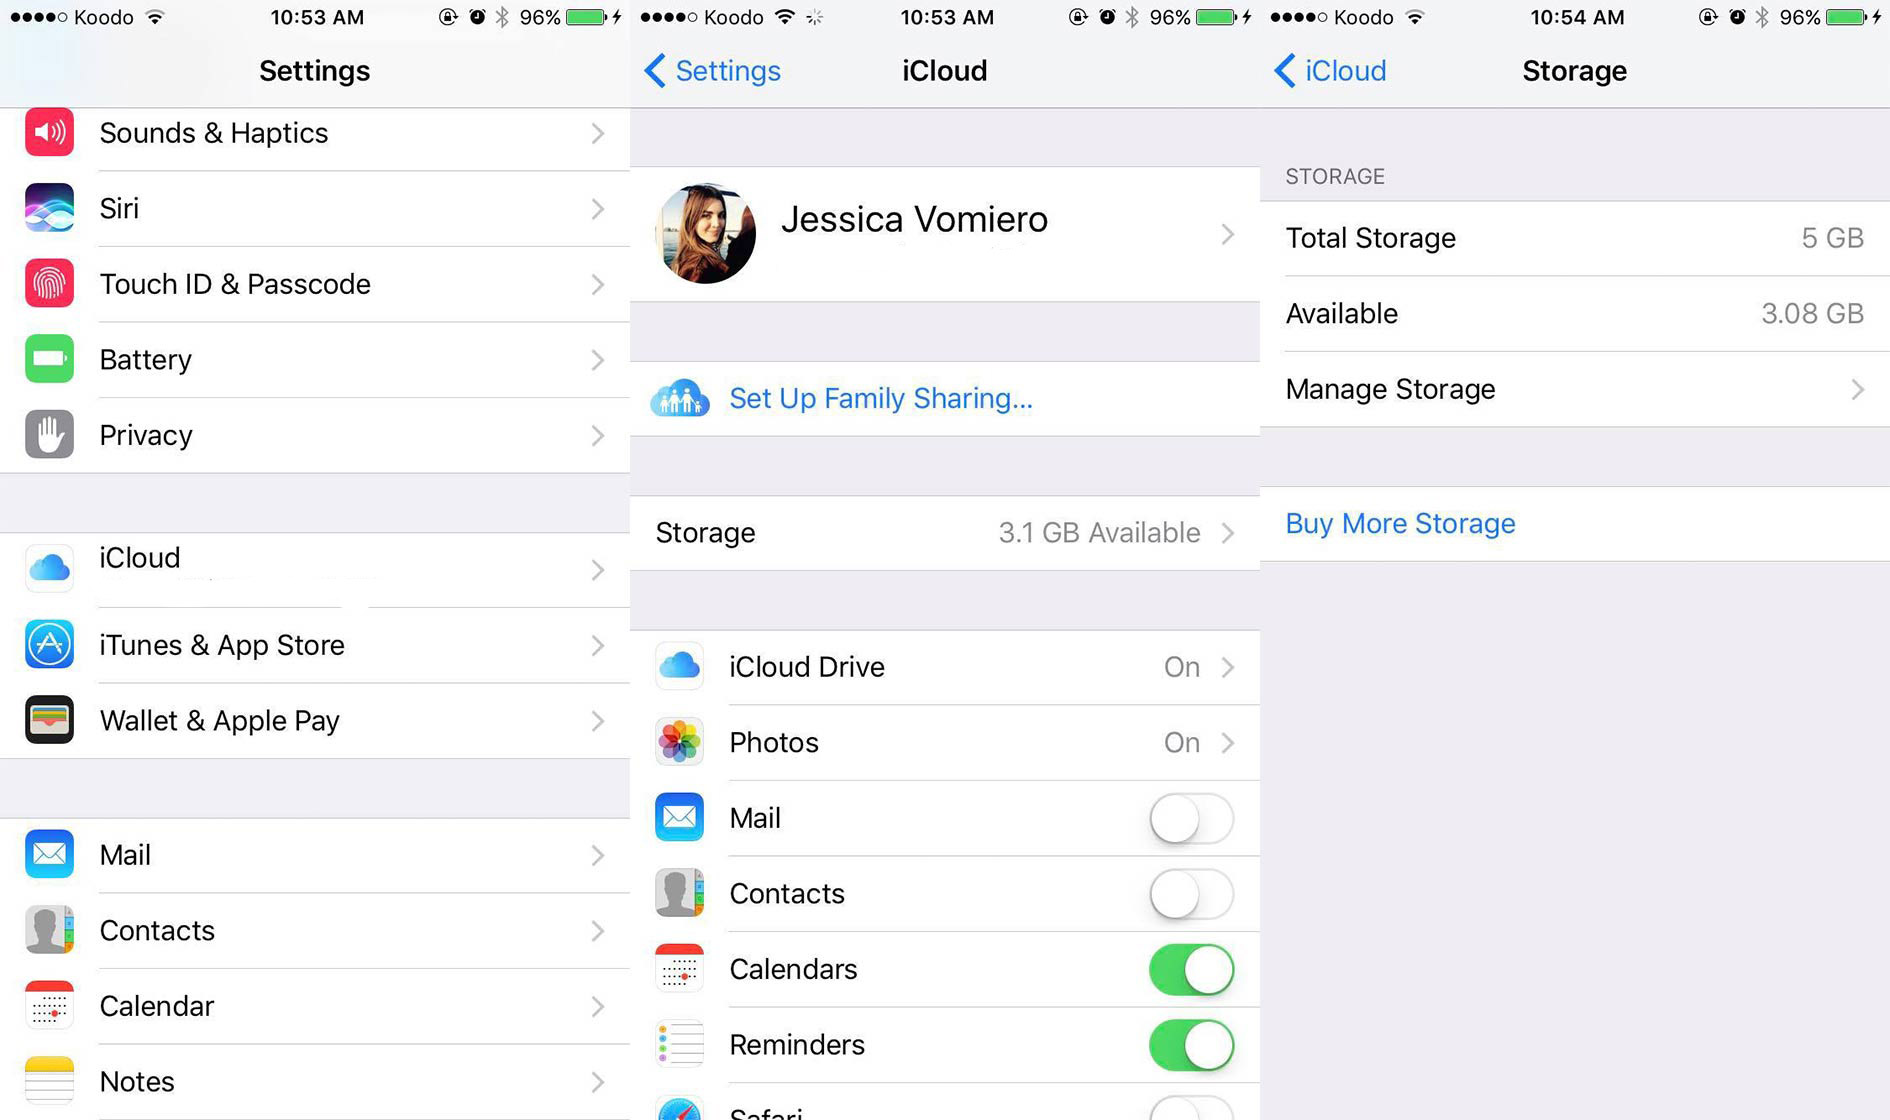
Alternatively, you can let iCloud automatically back up your device every day. To do this, navigate to Settings, scroll down and select iCloud. Once that’s done, scroll down to the bottom of the screen and select Backup. Then, flip the toggle on the display to ensure that iCloud Backup is turned on.
Following this, connect your device to a power source and a WiFi network. Make sure the screen is locked, and ensure that you have enough iCloud storage space for the backup.
Restore your device
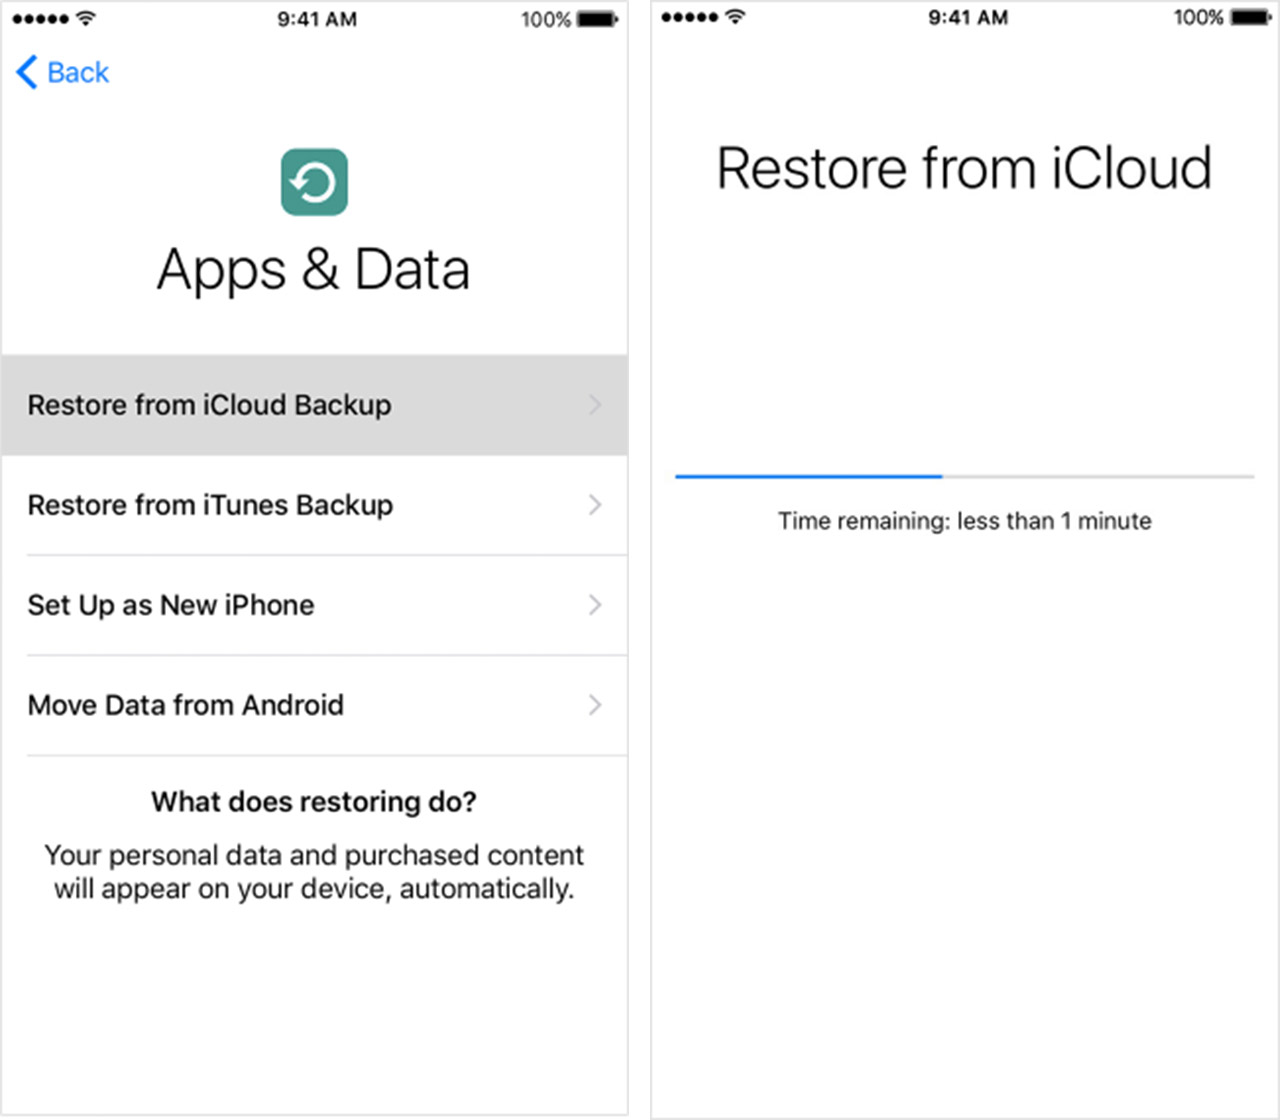
In order to restore from an iCloud backup, all the content needs to be erased off the device, meaning it needs to be either brand new or reset. When turning on the device, you should see the Hello screen.
Follow the prompts until you reach the Apps and Data screen. At this point, select “Restore from iCloud Backup,” and sign into iCloud with your Apple ID.
Select a backup by looking at the size and date of each, and picking the most recent. You’ll be asked to sign into your Apple ID to restore your apps and purchases. If you’ve purchased items from the App Store or iTunes using multiple IDs, you’ll need to sign into each one.
At that point, a progress bar should appear on the screen, indicating the time until the restoration is complete and you’ll be able to use your device. The length of time it takes depends on the size of the backup.
Make sure to stay connected to WiFi while the process if completing. If you disconnect too soon, the process will pause until you reconnect.
How to backup and restore your device using iTunes
Backup your device
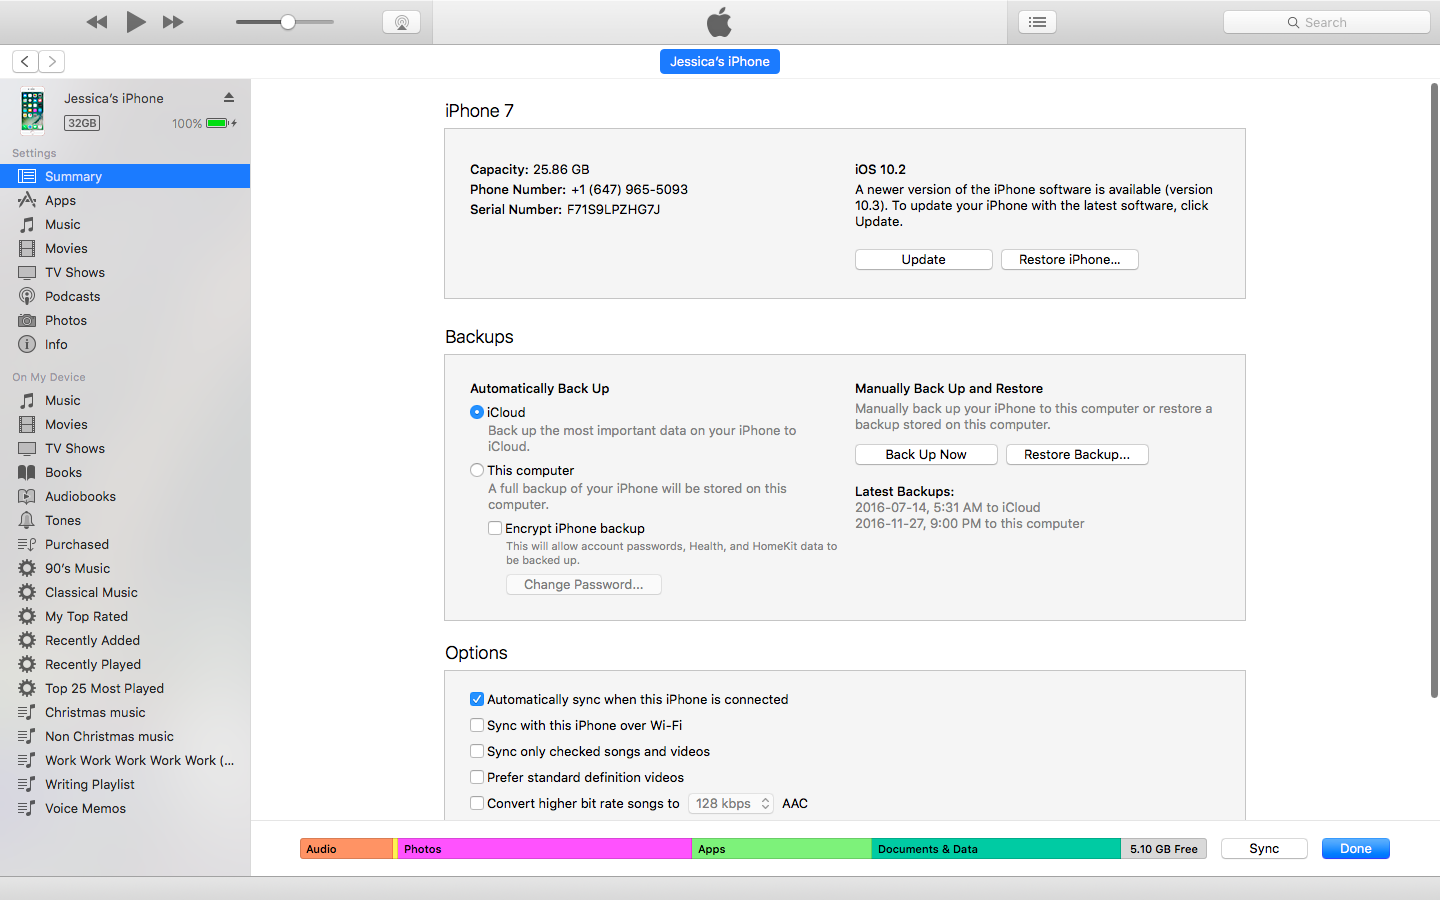
First, open iTunes and connect your device to your computer. Follow the prompts on your iPhone display until your phone appears in iTunes. When it does appear, select it.
If you’d like to save Health and Activity data from your iOS device or Apple Watch, WiFi history, settings and saved passwords, you’ll need to encrypt your backup.
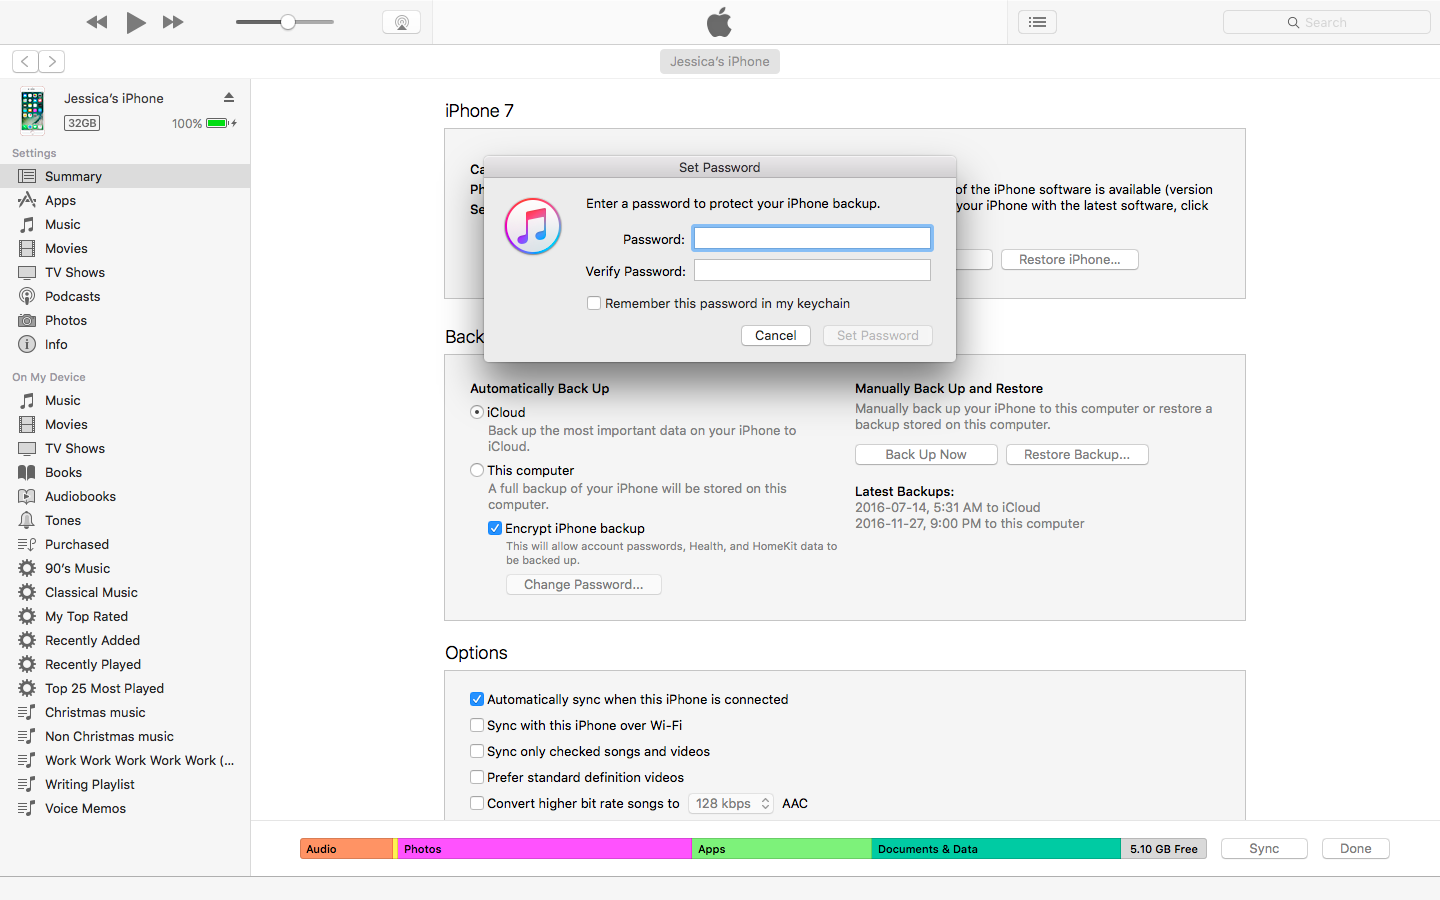
Select the box that reads Encrypt iPhone backup and create a password. If not, simply select Backup Now.
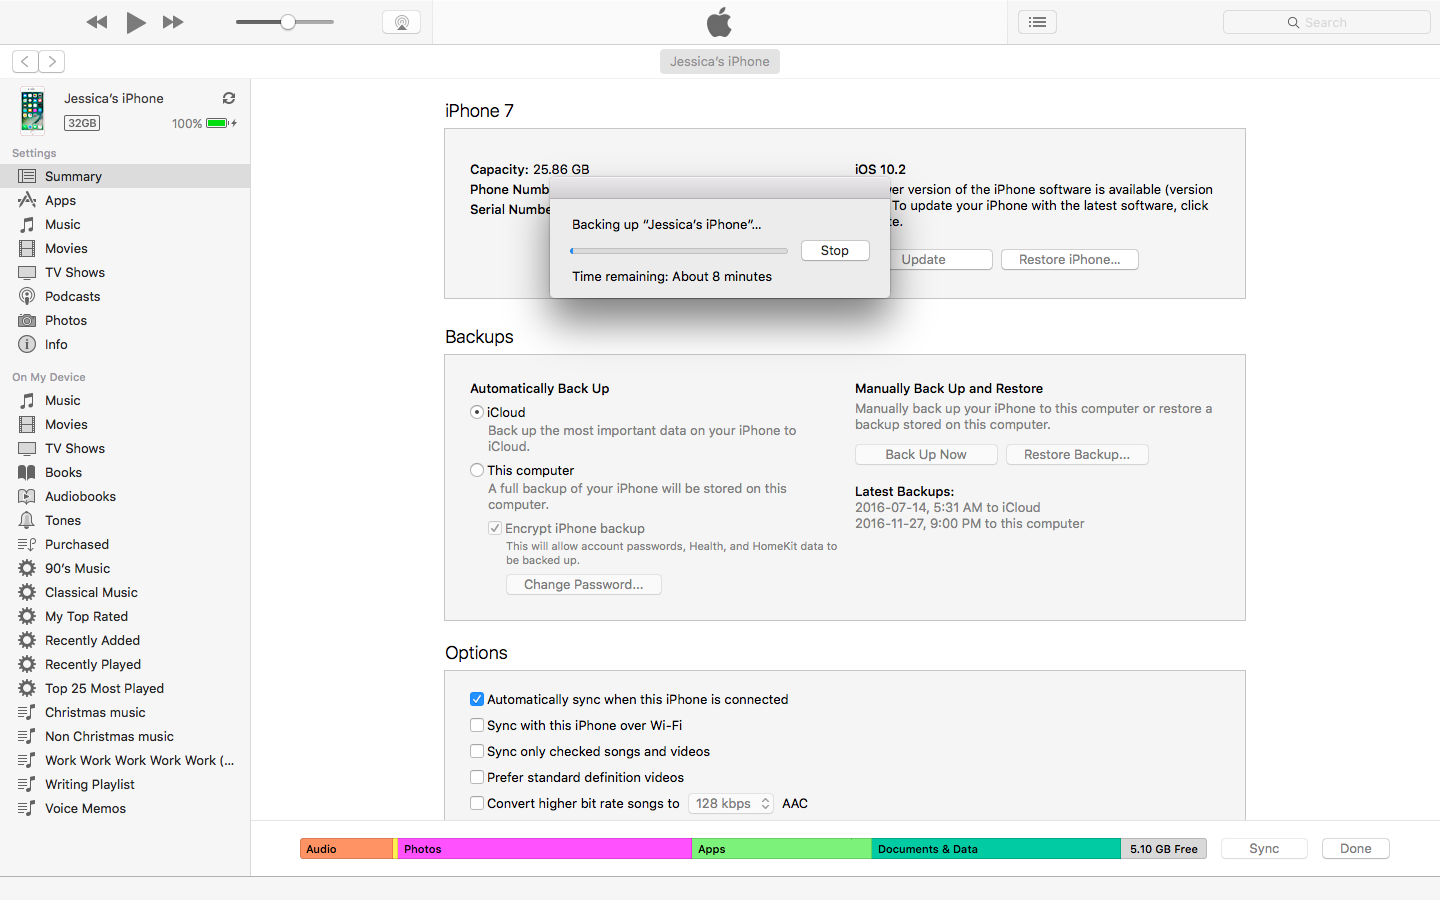
You should then see a progress bar appear on the screen. Once the process is complete, click iTunes > Preferences > Devices, and you should see your iOS device on the list along with the time the backup was created.
If you backup is encrypted, a tiny lock will appear next to the time stamp.
Restore your device
Make sure you’re using the MacBook or PC you originally used to backup the device.
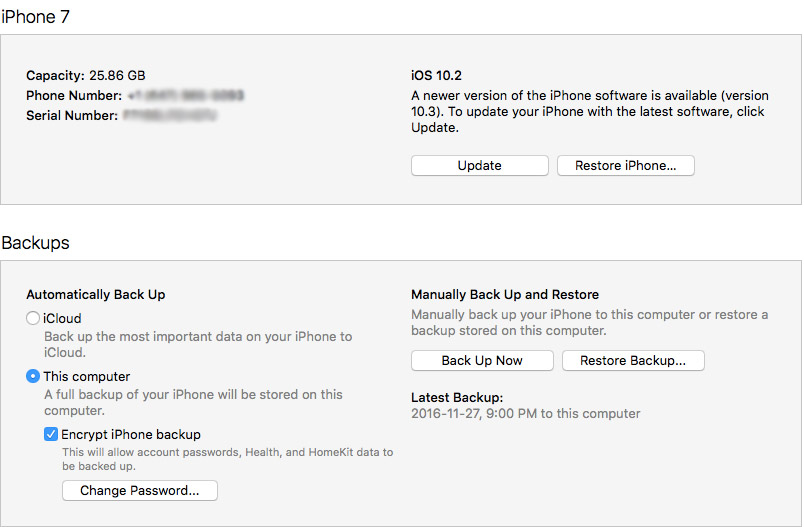
Connect your device to the computer with a USB cable and follow the prompts on your smartphone screen. When your device appears in iTunes, select it and click on Restore Backup.
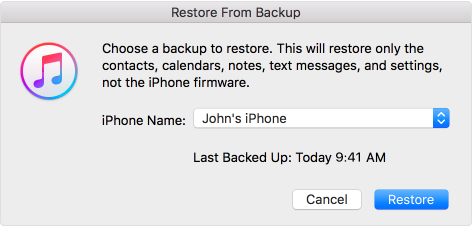
Pick the most recent backup, click Restore, and wait for the process to complete. If your backup was encrypted, enter the password for your encrypted backup and wait for the restoration to complete.
Do not disconnect your iOS device from the computer until the process is completes, the device restarts and synchs with your computer.
Image credit: Apple
MobileSyrup may earn a commission from purchases made via our links, which helps fund the journalism we provide free on our website. These links do not influence our editorial content. Support us here.


