
Yesterday began like any other day.
I had an Amazon order for an external hard drive coming in, and work started at 9:30am.
Later that day though, Microsoft decided to release Windows 11 a little early, so when my hard drive arrived, I backed up a few terabytes of files on my PC and began upgrading my main desktop to the final build of Windows 11.
As you may have already guessed, things didn’t go as planned.
Note: The process written about below are not condoned by MobileSyrup, and we do not recommend following Brad Bennett’s footsteps since his installation methods are unorthodox, risky and frankly, don’t work.
That being said, the following article was written on a Windows 11 PC ?.
A little background on updating to Windows 11
Before I begin, I’ll mention that Windows 11 will be a tricky update for a lot of people who have built their own computers due to new requirements, such as needing a TPM 2.0 and Secure Boot enabled. These are two things that can be both easy, or difficult to do. That said, anyone with a laptop or a pre-built computer should have a lot less trouble updating. I also imagine those smarter than I would be able to get the update up and running easier, but alas, I struggled.
If you’re curious how difficult the Windows 11 installation process will be for you, download the Microsoft PC Health Checker app to see if you qualify for the upgrade. And if your PC’s hardware is compatible with Windows 11, check out MobileSyrup’s guide to installing Windows 11 — which should be an easy process if everything’s compatible.
How I did it
When the beta version of Windows 11 dropped, I used my Ryzen 3800 CPU as my TPM unit (we have a guide on how to enable built-in TPM hardware here). However, I could never get Secure Boot working successfully. Now, with the full release available, I was ready to redeem myself, so with a determined mindset, I started the process of qualifying for the update.
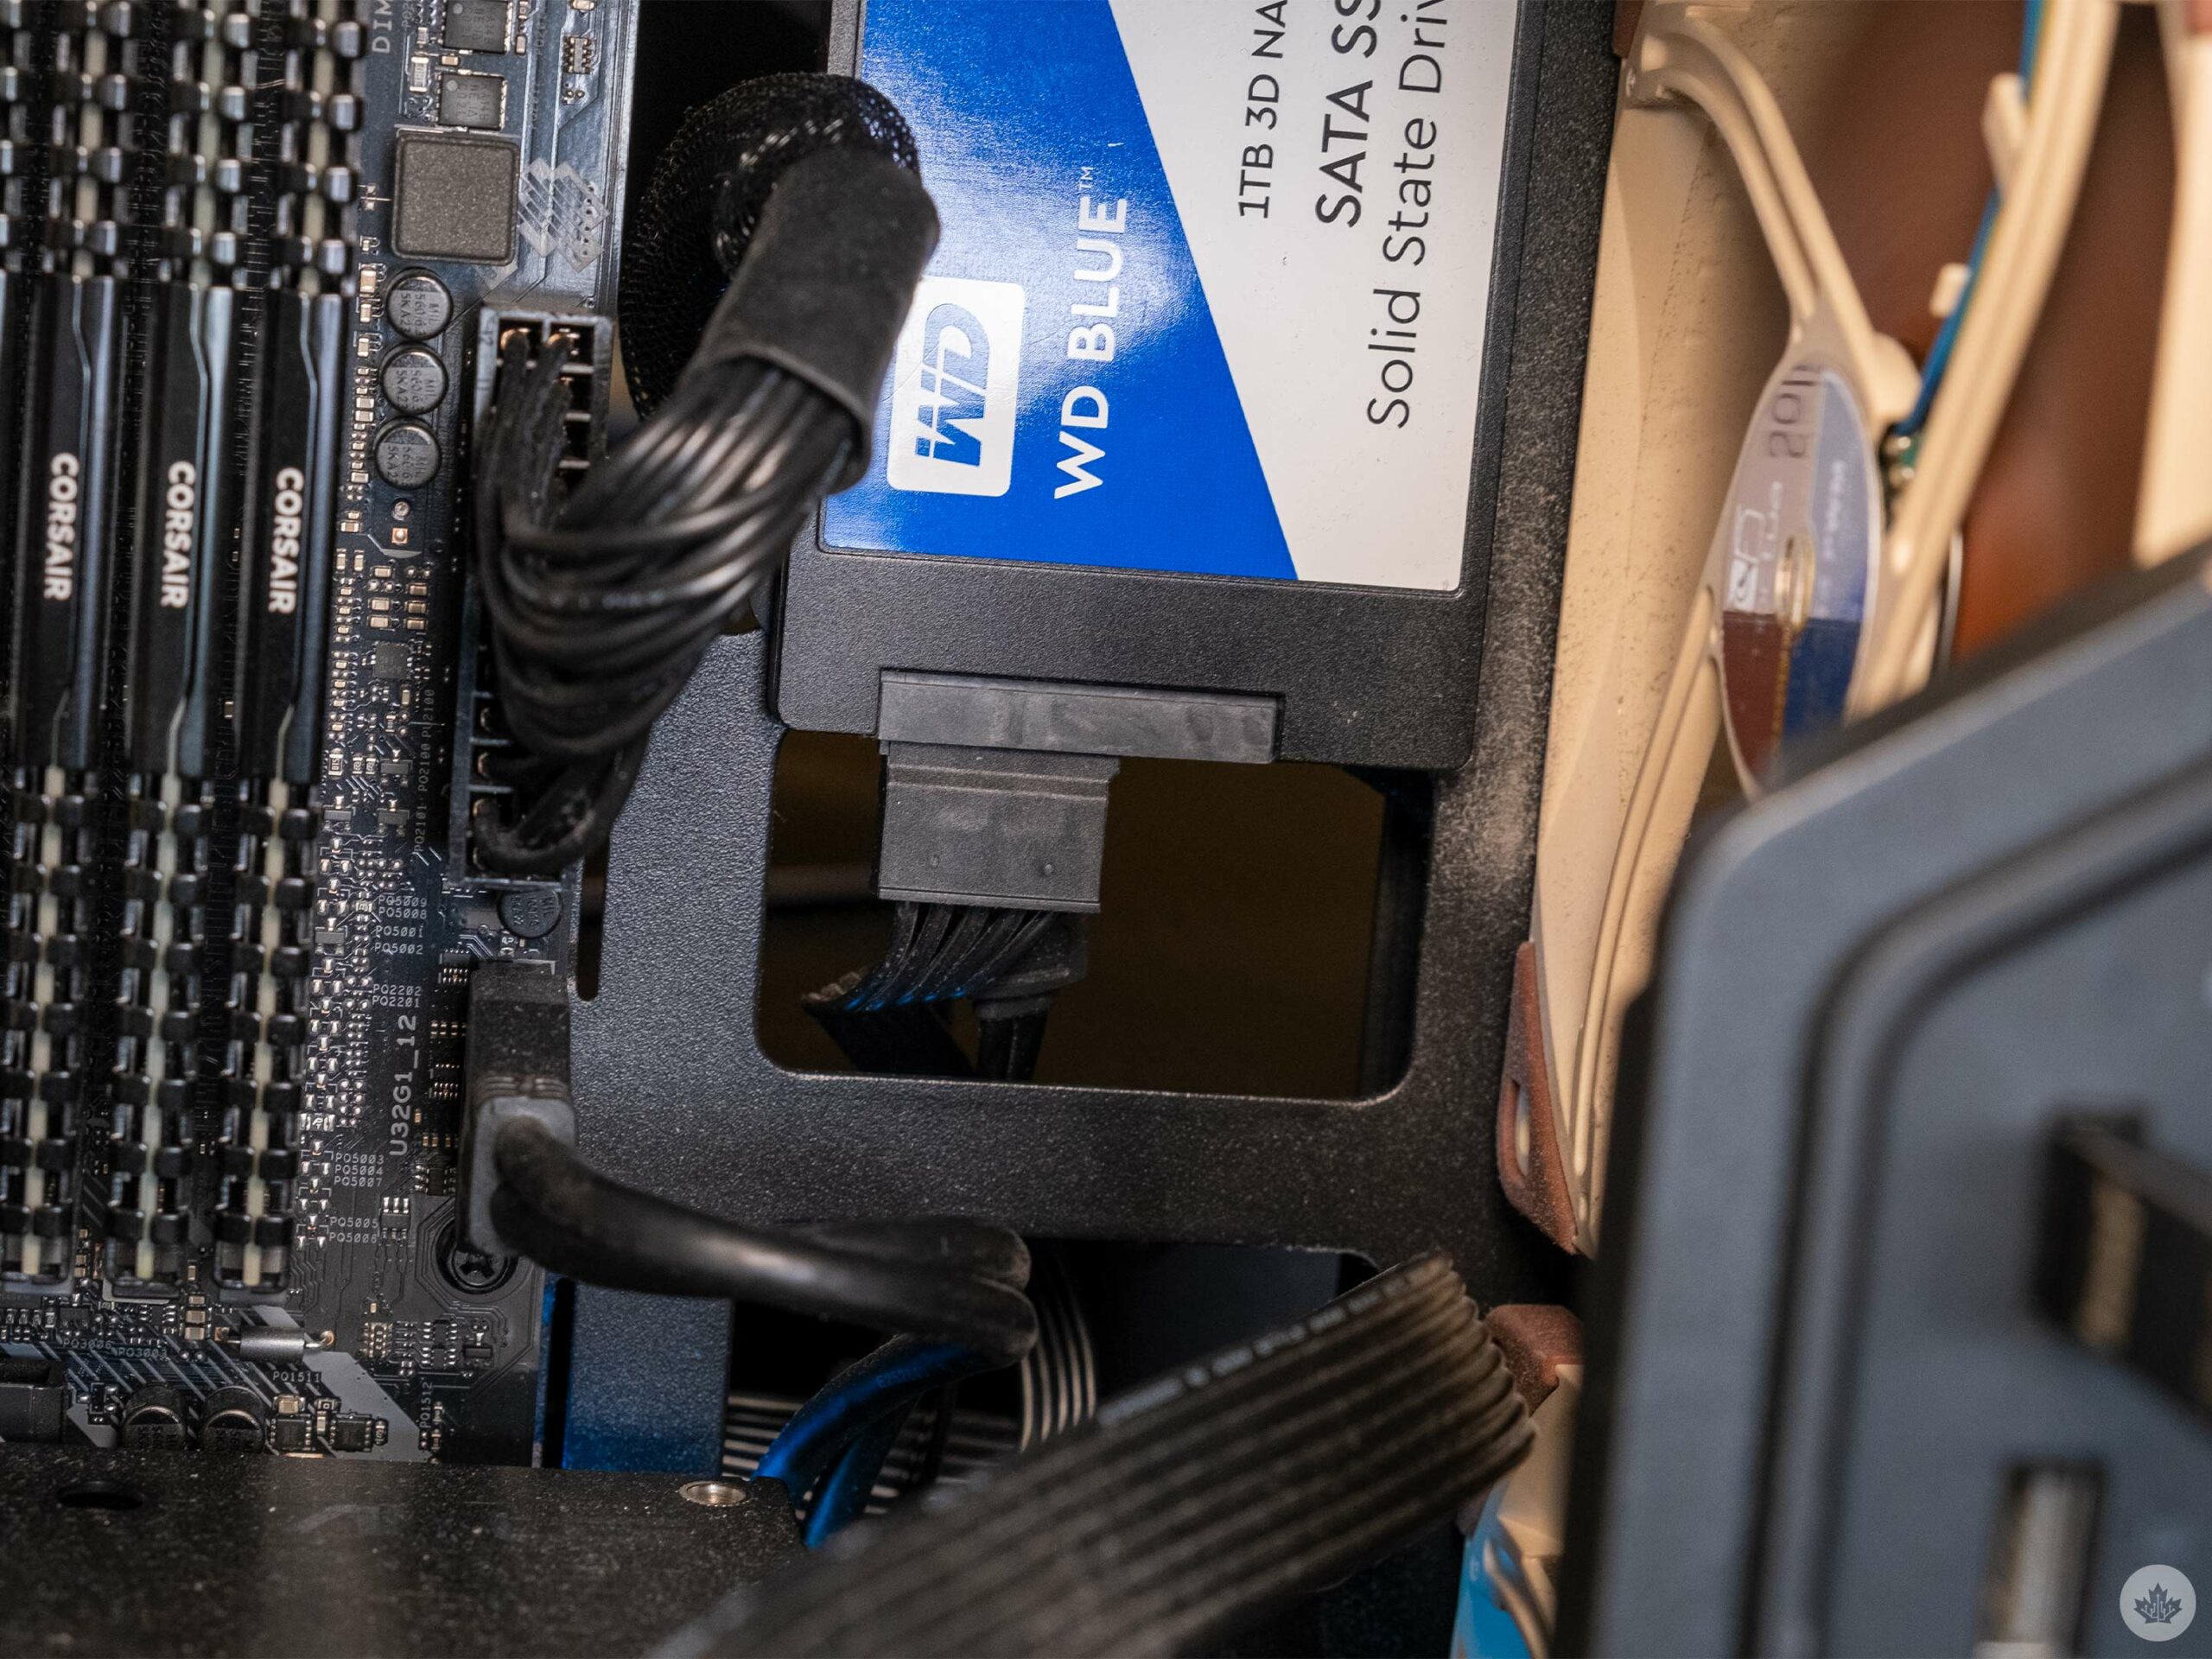
Since I had already backed up my critical work files, I started by wiping my PC using Microsoft’s built-in system refresh tools. It only wiped the SSD that held my operating system on it, but not my other two drives, one of which is a 3TB HDD and the other is a 1TB NVME SSD. The main drive I run Windows on is a 1TB SATA-connected SSD.
At this point, I have one wiped SSD with Windows on it, and the other two storage drives with my files. Feeling like that was a win, I tried to enable Secure Boot in my BIOS.
For those unfamiliar, the BIOS is the control screen you get when you hold down either Del, F2, F12, or some other key as your computer starts up. This is where you go to tweak your boot order, RAM speeds, fan curves, and more.
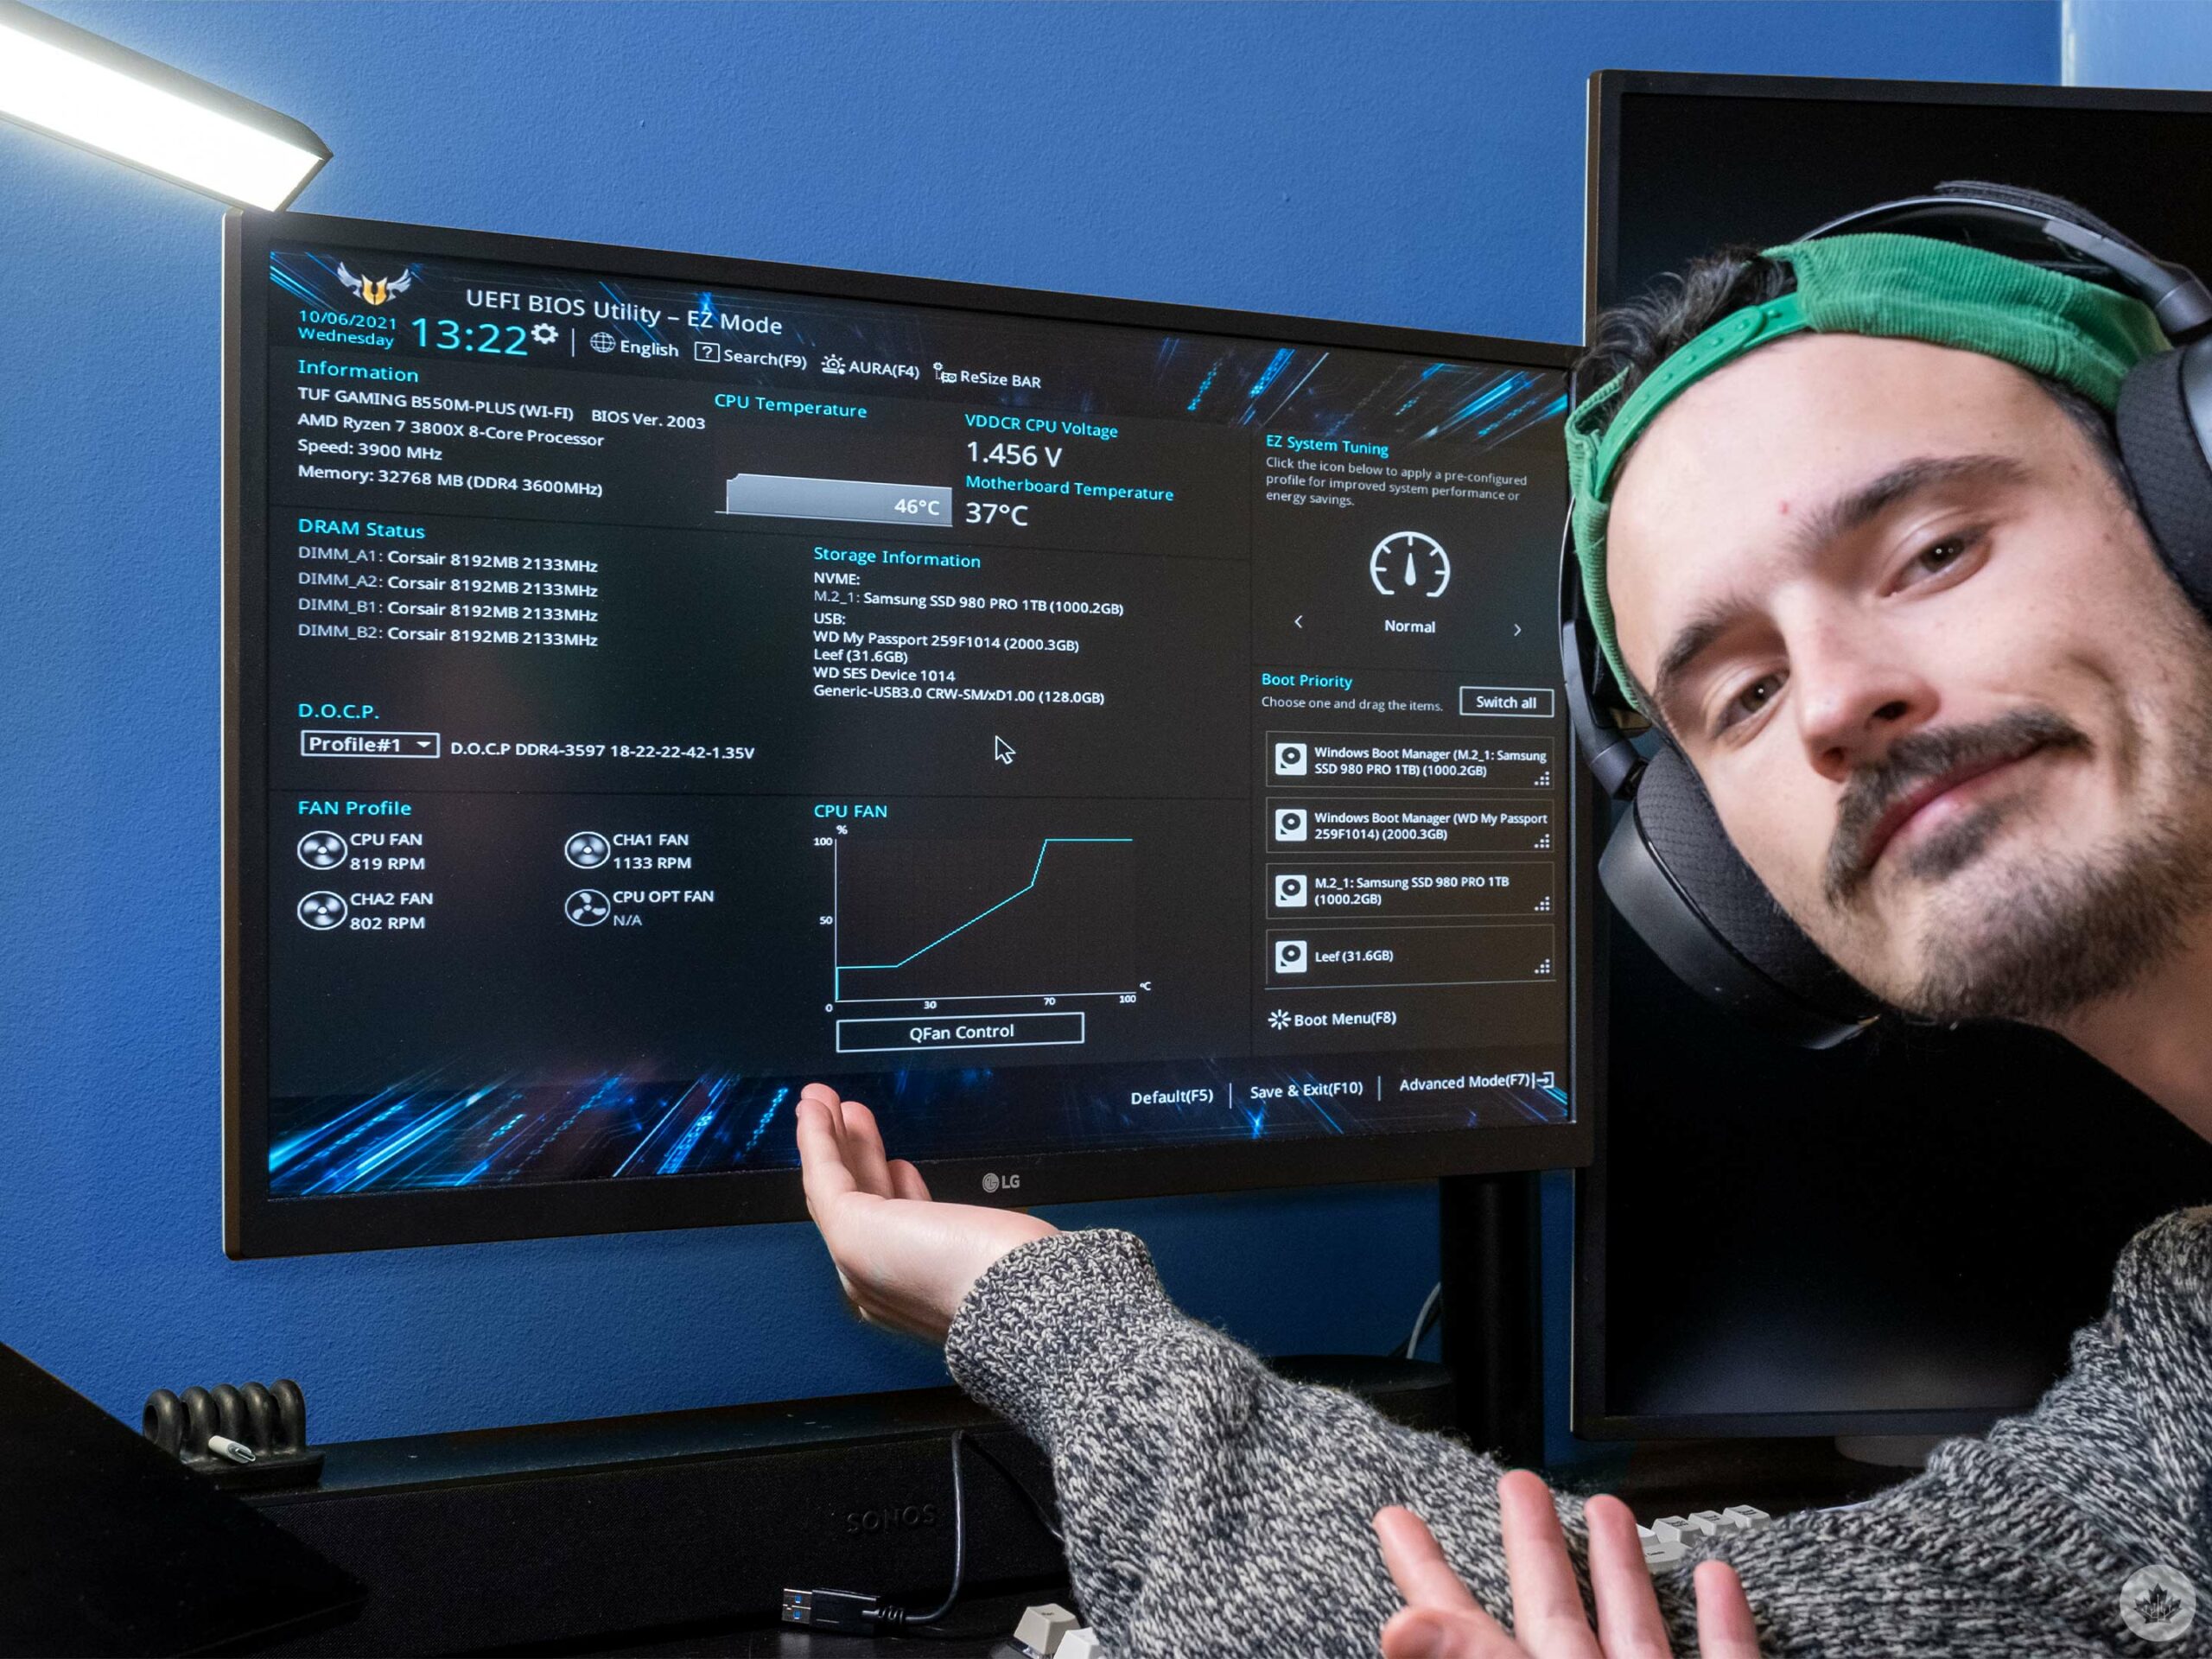
In this instance, I was looking to enable Secure Boot. While this sounds easy, it only works if your storage drives are all formatted to be GUID Partition Table (GPT) volumes. Most modern drives are formated like this because they can handle more partitions this way, but for some reason, my main SSD with Windows on it was formatted as an Master Boot Record (MBR) volume (you can learn more about GPT and MBR drives here). This meant it couldn’t work with Secure Boot.
“No problem,” I said to myself as I set about learning more niche computer storage knowledge than anyone should ever need to know so I could figure out how to turn my MBR drive into a GPT version.
My first attempt had me trying to use the CMD prompt with my PC in recovery mode to convert the drive. That didn’t work, so I set about looking for an alternative way. I found a program called AOMEI Partition Assistant that promised to be an easy one-stop-shop for all my SSD woes — it wasn’t. Instead, it turned out to be a waste of $50.
Still, it gave me some control over my drives, so I thought to myself, “why not transfer my system files over to my GPT SSD and erase the other drives?” Well, it turns out that was a dumb idea because it crashed my PC for some reason.
I assume I must have deleted some sort of boot file or something because my PC decided to say, “An operating system wasn’t found” on the next restart.
“For what seemed like the 1,000th time today I dove into the BIOS…”
This led me to try and use the built-in Recovery drive feature in Windows on another computer to try and bring my PC back to life. I created this recovery drive on an external hard drive, and while it did move my PC past the ‘brick’ phase, it still kept telling me that my PC was unable to recover after a few attempts.
From there, I tried using a Microsoft Windows Media creation tool I found online when researching my issue. This file I created on a laptop running the Windows 11 beta, and I installed it on a flash drive. The first time I plugged it into my PC, nothing happened.
For what seemed like the 1,000th time today, I dove into the BIOS to change the boot order. This worked, and now all of a sudden, my PC was asking me to reinstall Windows, and everything seemed to be going great. Then, at the last step when selecting a drive to reinstall Windows 11 on, I ran into yet another roadblock.
All of the drives once again said they were incompatible with Windows. I tried wiping them and as a last-ditch effort, I turned off Secure Boot in the BIOS, disconnected every drive except for the NVME SSD and the flash drive with the recovery media, and boom, Windows 11 started installing.
It’s around 4:30pm at this point, and my jaw hits the floor.
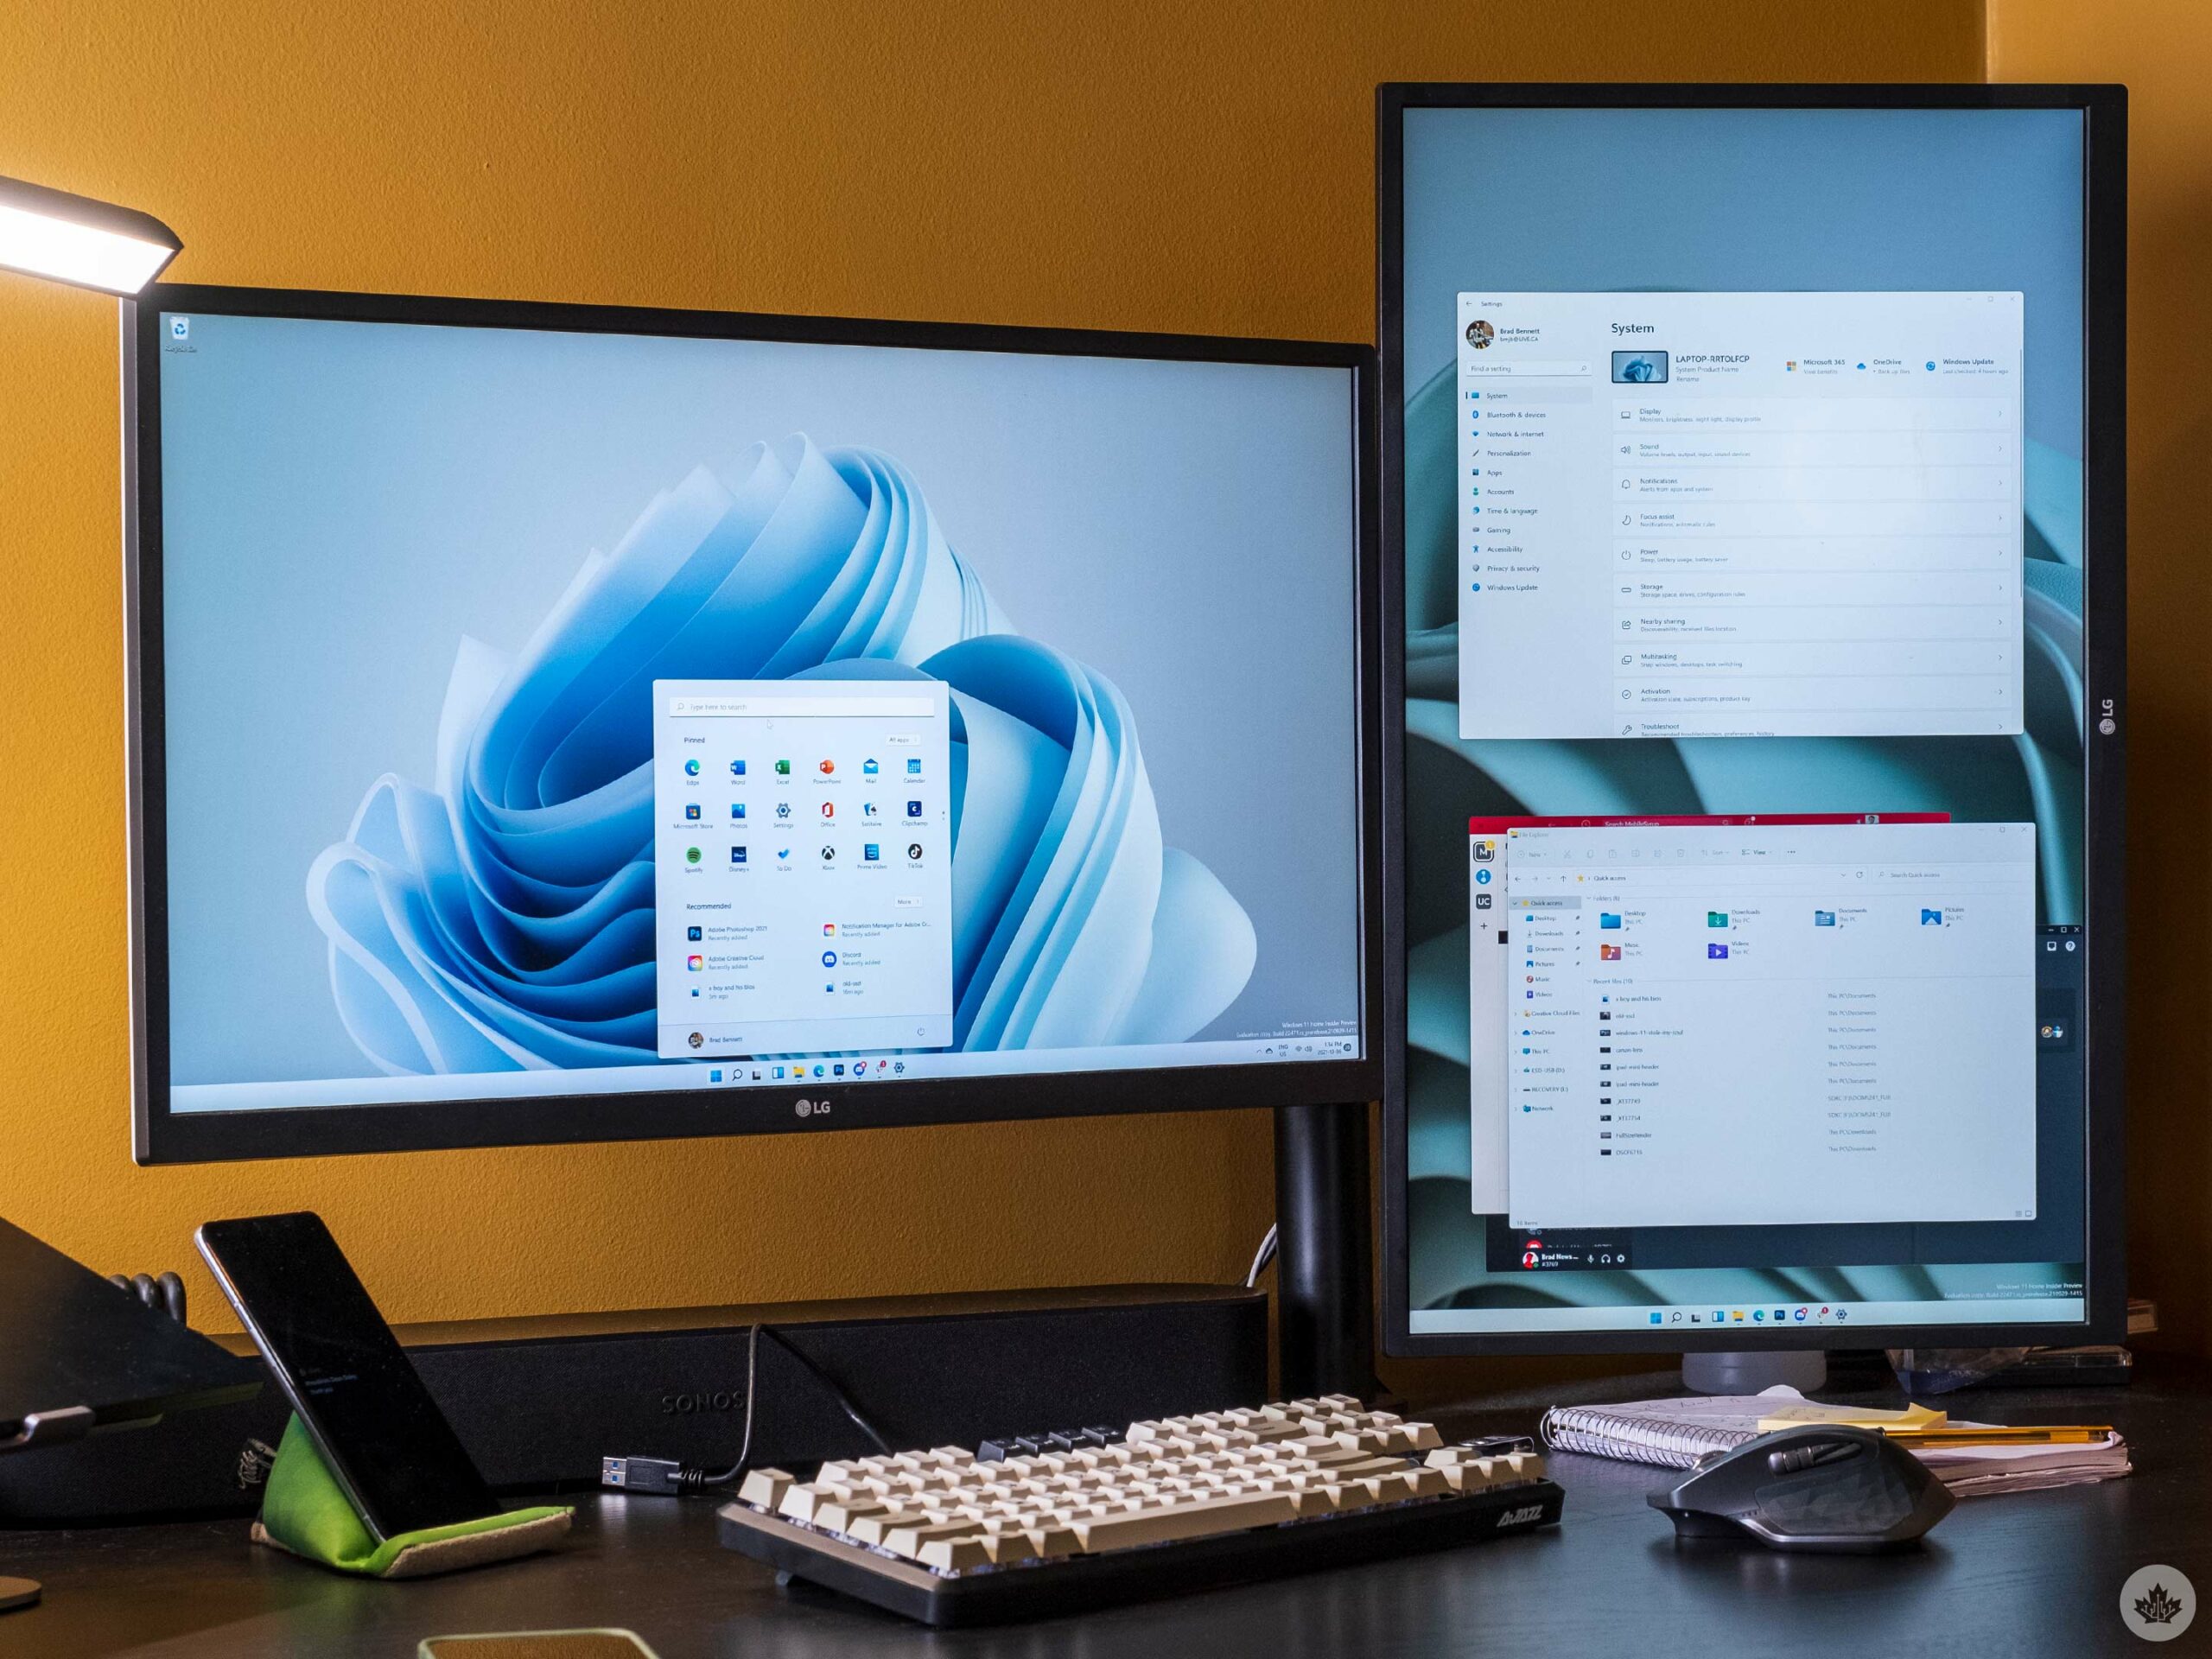
Once Windows 11 was completely installed, I realized that the recovery media I made on the Windows 11 beta laptop made a Windows 11 beta recovery, so now I have the beta on my PC.
Everything works fine, and at least half of me is happy that I didn’t brick my PC, but the other half is scared to see what happens if I install the full version since I bootlegged my way this far into the process and never really solved my storage drive issues.
It also says in the system settings that by dropping out of the Windows Insider Preview Program, I’ll be moved back to a stable build of Windows 10 with all my files erased. So once I figure out a new plan of attack, I’ll have to start from scratch once again.
All this is to say that my Windows 11 installation was way harder than it should be for a lot of people.
MobileSyrup may earn a commission from purchases made via our links, which helps fund the journalism we provide free on our website. These links do not influence our editorial content. Support us here.
