
The first developer preview of Android O has been released and, being tailored to developers, you’re going to need a little technical know-how in order to get the preview running.
You’ll also need a compatible Nexus or Pixel device, namely: the Pixel, Pixel XL, Nexus 5X, Nexus 6P, Nexus Player or Pixel C and the bravery to run a far-from-stable build that is likely full of bugs and could potentially brick your device. I’ll reiterate that, because it’s important: this could brick your smartphone. Proceed with caution.
To begin with, when flashing your device you’ll need to make sure your bootloader is unlocked. If it is, excellent — you’re one step ahead, and you won’t have to wipe your device. If it isn’t — follow the instructions below, but note that unlocking the bootloader will wipe your device.
Unlocking your bootloader
First off, you’ll need to download a specific set of Android developer tools to your computer — specifically fastboot and ADB — available in a lightweight form here (and as part of a larger SDK Manager for developers here). These tools will also play an important part in the overall flashing process. Try to download and extract the files in a location that is simple to navigate to and easy to remember.
To prep for the flashing process, add fastboot and ADB to your PATH environment variable. In Windows 10, this can be done by navigating to Control Panel > Systems > Advanced > Environment Variables and then clicking on Path under ‘System Variables’ and pressing the edit button. Once in that editing window you can browse to the directory with fastboot and ADB in it and add it as a new environment variable. You may need to restart command prompt to make sure this change takes effect. For those on macOS, there are different instructions for adding fastboot to your PATH environment variable.
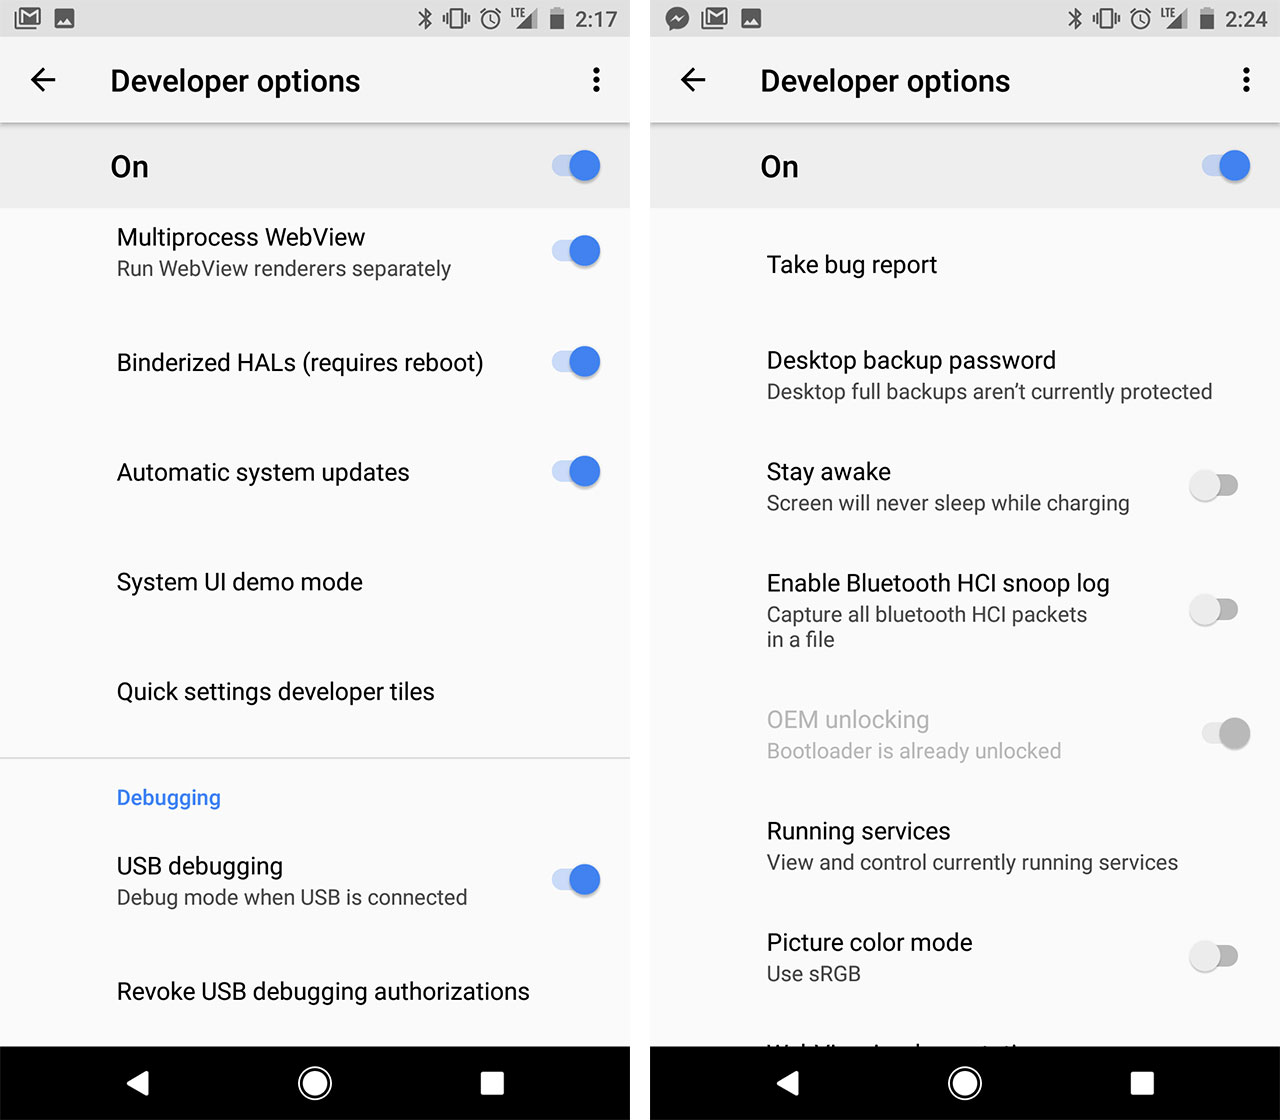
Next, open your device and head to developer settings, which you can enable by going to ‘About phone’ and tapping the ‘Build number’ repeatedly until developer settings are enabled. In developer settings, switch on OEM unlocking and USB debugging. Plug your device into your computer.
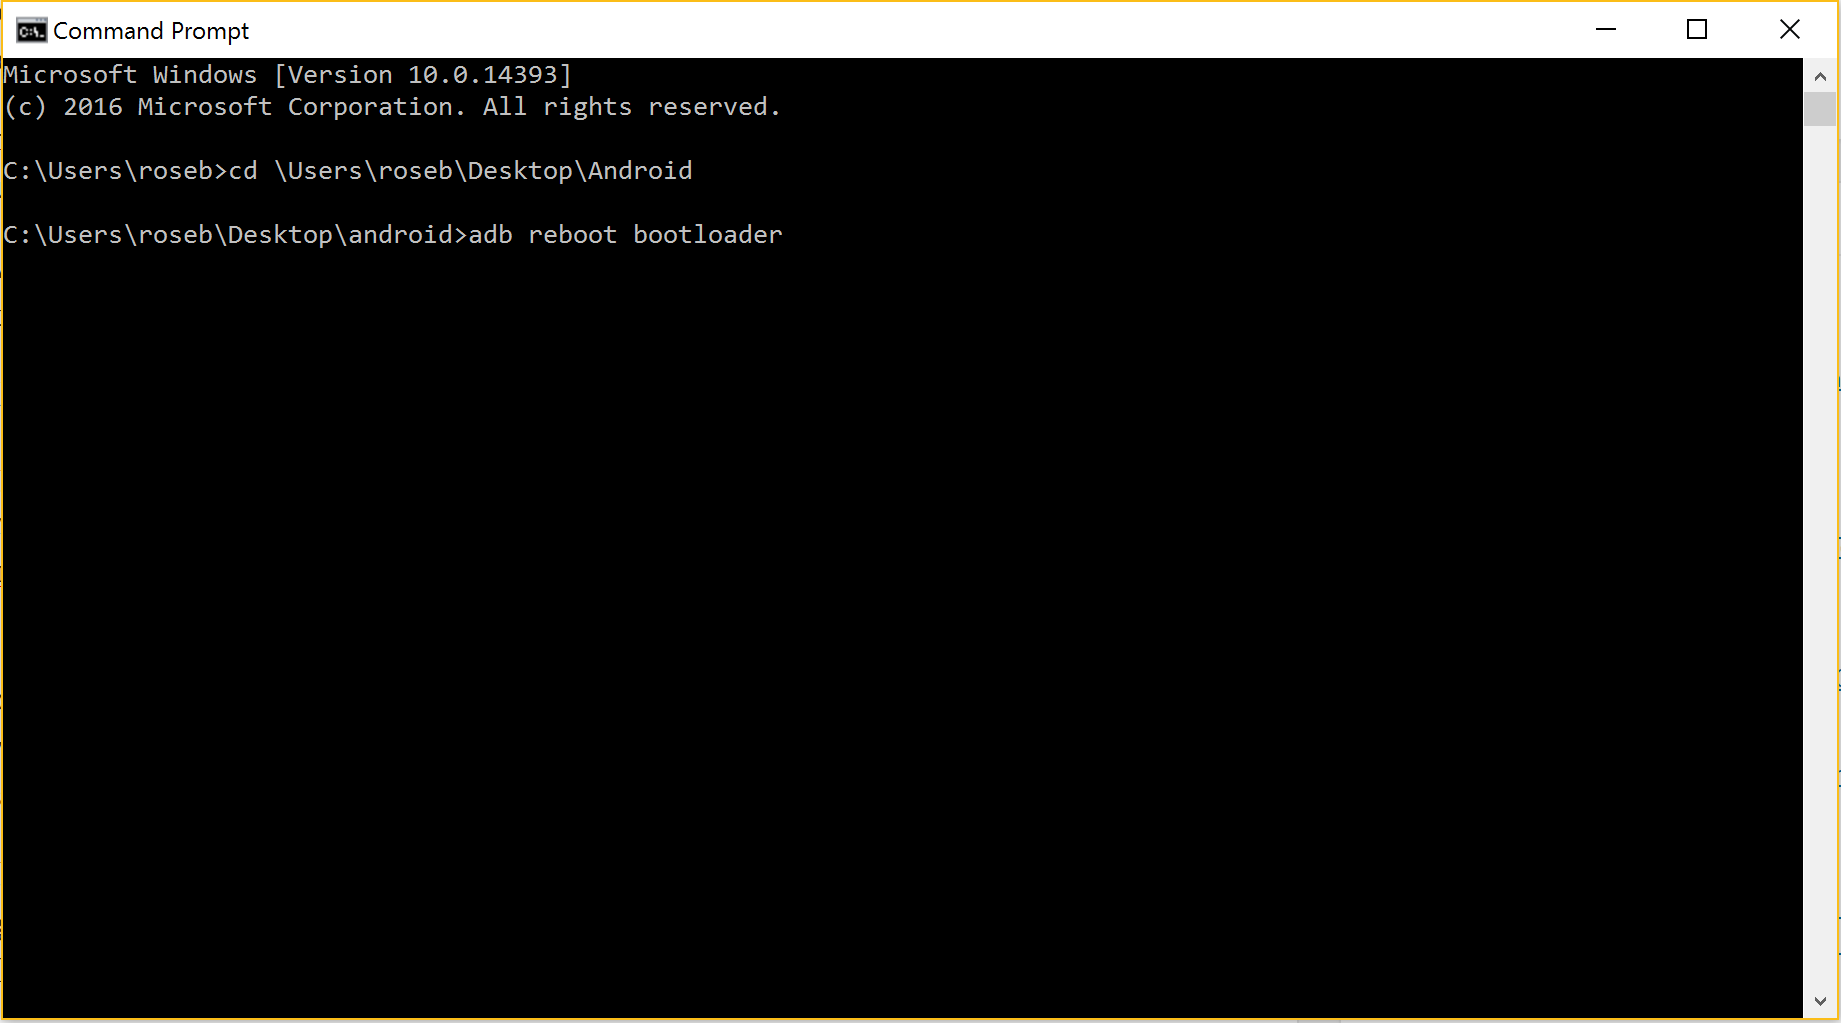
Open your command prompt and type ‘cd’ then a space and the location of your file with the Android developer tools. For instance, if the file is named ‘android’ and it’s on your desktop type ‘cd \Users\yourname\Desktop\android.’ You should then see ‘C:\Users\yourname\Desktop\android’ repeated back to you. This means you are in the correct file directory, and can simply execute commands for the tools within that directory from there.
Next, type ‘adb reboot bootloader,’ which will start the device in fastboot mode (if your device is plugged into your computer, as noted above). You can also get into fastboot mode by turning off the device and then turning it on while holding down the relevant key combination for your device.
The fastboot screen will then inform you whether or not the device is locked or unlocked. If it is locked, simply run ‘fastboot flashing unlock’ in the directory that holds the tool (same as above) — though for devices older than the Nexus 5X or 6P, the command may be ‘fastboot oem unlock’ instead.
Once you’ve completed this step, you’ve successfully made it halfway through the process. Congrats! Now on to the flashing.
Flashing your device to a factory image
First, you’ve got to download the appropriate factory image for your device, available here. Download it and save it to a nice, easily navigable spot on your computer. Extract all files. Navigate to the file folder in your terminal and execute the command ‘flash-all.’ For example, if your file name is ‘androidohwow’ and it’s in downloads, write ‘cd \Users\yourname\Downloads\androidohwow’ and hit enter. Now you’re in the content directory. Next type ‘flash-all’ and hit enter to execute.
If done successfully (and entering the correct paths can undoubtedly be tricky, so don’t lose hope), your request will process. It may take a while processing. Don’t unplug your phone or stop the process until your phone successfully reboots and the terminal informs you the process is complete. Once finished, your Nexus or Pixel device will now feature the latest developer preview.
Before you start poking around, Google recommends you lock the bootloader again for security. You can do this by starting the device in fastboot mode as described above, then executing the command ‘fastboot flashing lock’ or for older devices ‘fastboot oem lock.’ It should be noted that this will wipe the device, and it will be wiped once again if you choose to unlock the bootloader once more.
Have fun poking around on the new developer preview, and tell us what you find in the comments.
MobileSyrup may earn a commission from purchases made via our links, which helps fund the journalism we provide free on our website. These links do not influence our editorial content. Support us here.
