
If you’re like me, you might be working on a different PC than you’re typically used to and wish there was some way to adjust it. Well, you’re in luck because I’ve got a handful of tips that will not only make Windows look better but will help you learn to love the operating system in a way you haven’t felt since the XP glory days.
This article is mainly for people switching to Windows 10 from macOS. However, if you’re a regular Windows user, you may not have heard of some of these useful tweaks.
A centred and transparent Taskbar
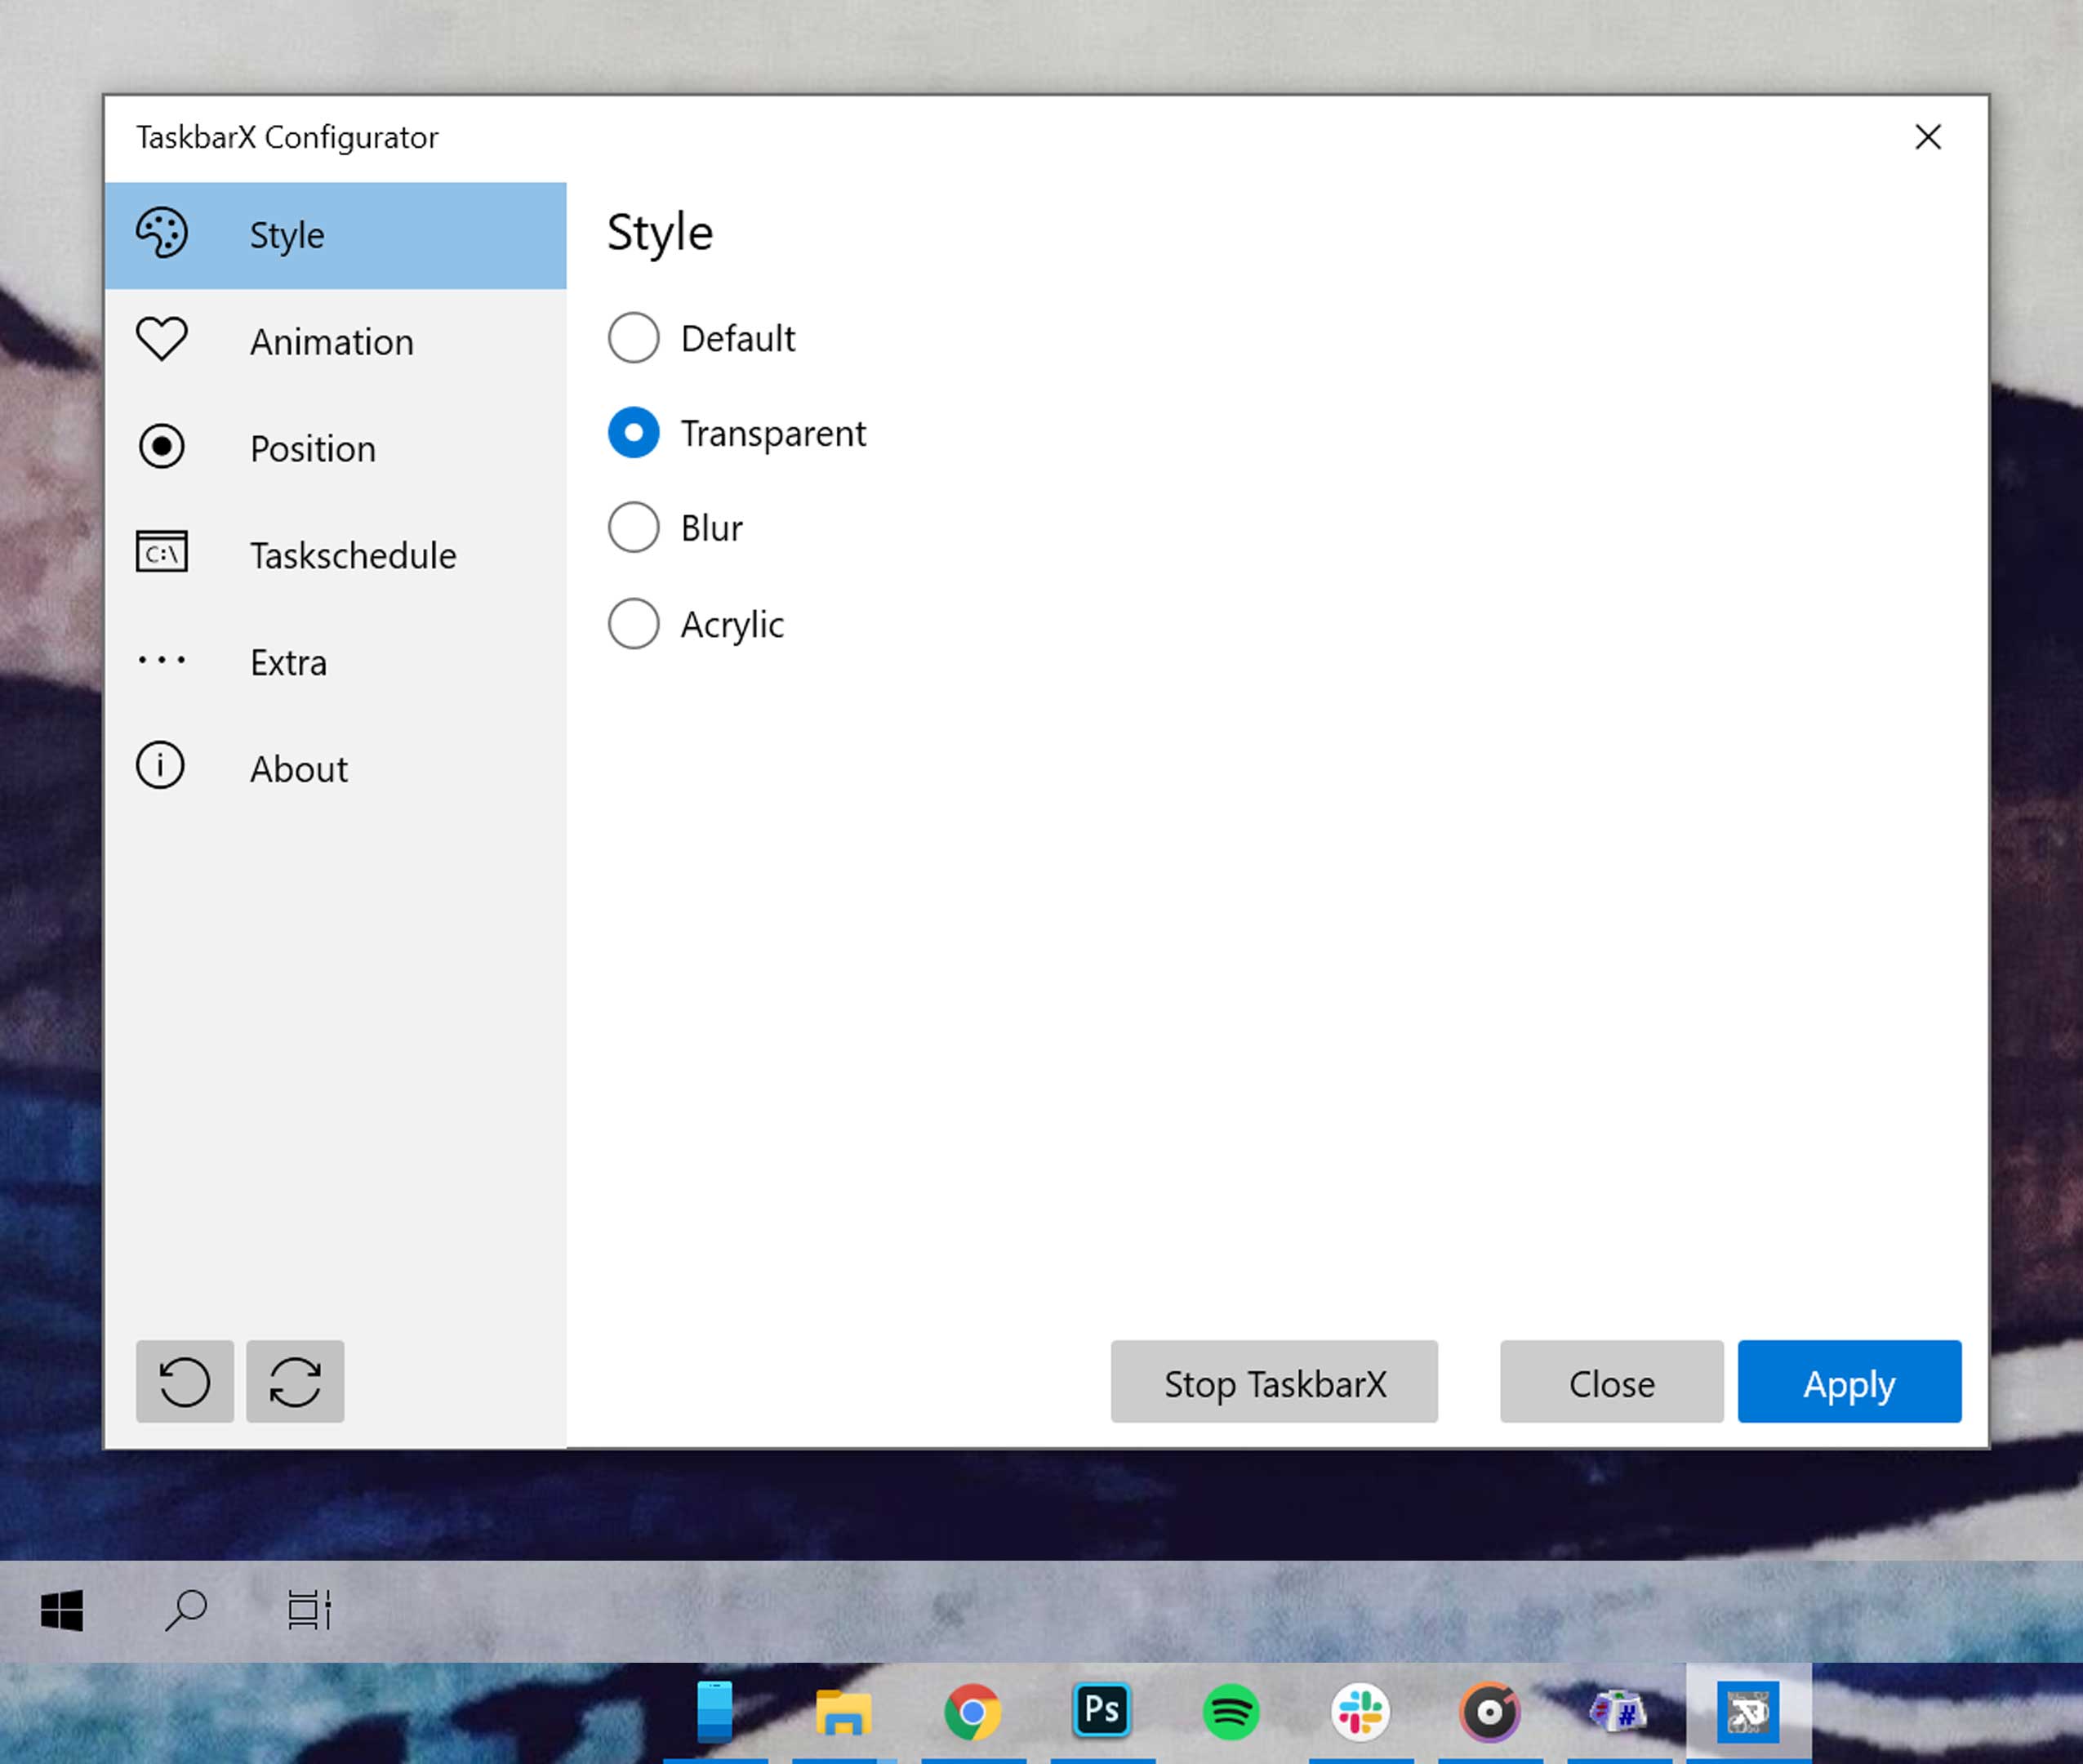
The Taskbar is the home for all of your open apps, notifications toggles, the Start menu and much more. While there are some customization options built into Windows to tweak how it looks, if you want to make it look modern, you need to download third-party apps.
I use one called TaskbarX that cost $1.39 CAD, but there are some other options out there, depending on what you’re looking for. TaskbarX does two main things: it centers your Taskbar icons and it makes the Taskbar transparent. To me, this looks a lot better, primarily when you hide the ‘Search’ bar. For macOS users, this makes the UI feature act a little more like the operating system they’re used to.
You can also turn the Taskbar into a solid colour or make it fogged if you want. If you want to take things to the next level, you can even adjust precisely where you want the icons if you want them off-set.
One thing I will mention is that when the Taskbar is transparent, it’s hard to read the text in the bottom left and right corners, depending on your wallpaper. You can mitigate this sometimes by switching from light to dark mode, but some wallpapers are just not going to work.
You can buy TaskbarX for $1.39 on the Microsoft Store.
Automatic light and dark mode

As I was saying above, since light and dark modes change the colour of the text on the Taskbar you may not want to enable this if you’re using TaskbarX and an intricate wallpaper.
If you’re not and you just want an easy way to schedule dark mode to come on at night and light mode to enable in the morning, download Luna. This is a free app you can grab from GitHub, and it’s straightforward to use.
Once you install it, you just choose a time for the OS to switch into light mode and another time for dark mode. I decided 7am and 8pm respectively.
You can also allow Luna to switch the theme of Windows apps and the system theme to get a more cohesive experience.
You can get the wallpaper to change at the scheduled time as well. This helps if you’re using TaskbarX.
Luna is an easy tool to use, the only bad part is that many third-party apps don’t switch their light and dark themes automatically yet. Right now, apps like Slack, Facebook Messenger still don’t change when you shift the Windows theme.
Re-mapping Alt to act like Cmd on Mac

Remapping keyboard keys is something that’s strangely missing from default Windows, but with a handy app called SharpKeys, you can solve this problem in a few minutes.
Anyone who moves between Windows and Mac knows that it’s pretty annoying to have to unlearn the muscle memory of each operating system’s shortcut keys. So if you’re a Mac user who’s shifting over to Windows, it’s useful to swap the powers of the Alt and Ctrl keys.
You can download SharpKeys on GitHub as well.
Once you have the app open, you’ll need to click on ‘Add.’ Then, scroll down and select ‘Special: left Alt (00_38)’ in the ‘From’ column. In the ‘To’ section choose ‘Special: Left Ctrl(00_1D).’ You can also hit the ‘Type Key’ button and just tap the keys you’re looking for on your keyboard, but this didn’t work for me, so your mileage may vary.
This will make the left Ctrl key act as the Alt button. You’ll need to add another line to SharpKeys that’s the exact opposite of the first one to make Alt act like Ctrl. You’ll also need to repeat this process two more times for the right Ctrl and Alt keys.
Once you’ve done all of that, your SharpKeys app should look similar to the screenshot above and you can click ‘Write to Registry’ and then close the app. The last thing to do is restart your computer for the changes to take effect.
Organize the Start Menu

The final thing you can do to make Windows a little easier is to organize the Start Menu. When you start up a clean install of Windows, there are often random games and apps that you can get rid of to make things a little easier to navigate.
There are two sections in the Start Menu — the left side is the proper Start Menu, and the right side is called the ‘App list.’
You can’t customize the Start Menu, unfortunately, but you can clean it up. The first thing you want to do is get rid of some of the random folders. Often when you download apps from the internet, they install themselves as a folder with a few random apps and files alongside the app you want.
For example, I downloaded the game Apex Legends onto my P, which resulted in a folder called Apex Legends appearing in my start menu with a tech support document, the privacy policy and a user agreement. Luckily enough, it’s easy to get rid of all the bloat.
You just need to dive into your program files and delete and move a few things. The Start Menu is just a fancy way to display the files in your computer’s ‘Program Files’ and ‘Program Files (x86)’ folders. So if you organize those folders, the changes will be reflected on the Start Menu.
In my experience, there are a few folders and apps that don’t go away, but you can clean this area up considerably by moving apps from within folders and into the Program Files and Program Files (x86) folders.
The other side of the Start Menu is much more customizable. All you need to do is right-click on an app and choose ‘Pin to Start.’ The app then appears as a tile in App List. You can resize and place tiles here to your heart’s content. I’ve opted to replace the items I had pinned to my Mac Dock in this space, but you can do whatever you want.
You can also resize tiles to make some cooler layouts and you can re-colour them in the Windows Settings ‘Personalization’ menu.
MobileSyrup may earn a commission from purchases made via our links, which helps fund the journalism we provide free on our website. These links do not influence our editorial content. Support us here.
